Veggie gardening for beginners
Notes prepared by Kat Lavers, August 2024

Want to start growing food at home but not sure where to start? This is an overview of the basics to help you start quickly and with confidence.
Designing your garden
It’s well worth pausing to make sure you put your vegie patch is in the best possible position before getting stuck in. To grow in winter your garden will need full sun or at least a spot with lots of open sky, but in Naarm/Melbourne your veggies only need the summer sun for about 6 hours per day. Some afternoon shade from the west in the hottest months is desirable if you have had enough sun already, either from deciduous trees and shrubs, or shade cloth/old sheets. The long edge of rectangular beds are usually orientated North/South to minimise shading on other beds.
It’s important to choose a position that you will see in the course of your daily routine, and as close to your kitchen as possible. This encourages regular observation, management and harvesting. If the best position has a slope, level the surface of the bed so that water, mulch and nutrients are not lost. Protection from strong wind is very helpful, and of course make sure that you have a nearby water supply.
If you’ve never grown vegies before it’s better to start with a small patch that you easily can keep an eye on while you learn. A square metre or a couple of pots is enough to get started. Design the paths and bed shapes so you can reach all parts of the bed without stepping on the soil.
The most cost effective and sustainable option is to dig garden beds from the existing soil but check for lead and other soil contamination first (see GardenSafe at EPA Victoria or VegeSafe at Macquarie Uni for free/affordable heavy metal testing). If you do need to raise the beds because of contamination, accessibility or other another reason, choose a non-toxic edging like cypress or other durable timber (avoid treated pine), brick or corrugated iron.

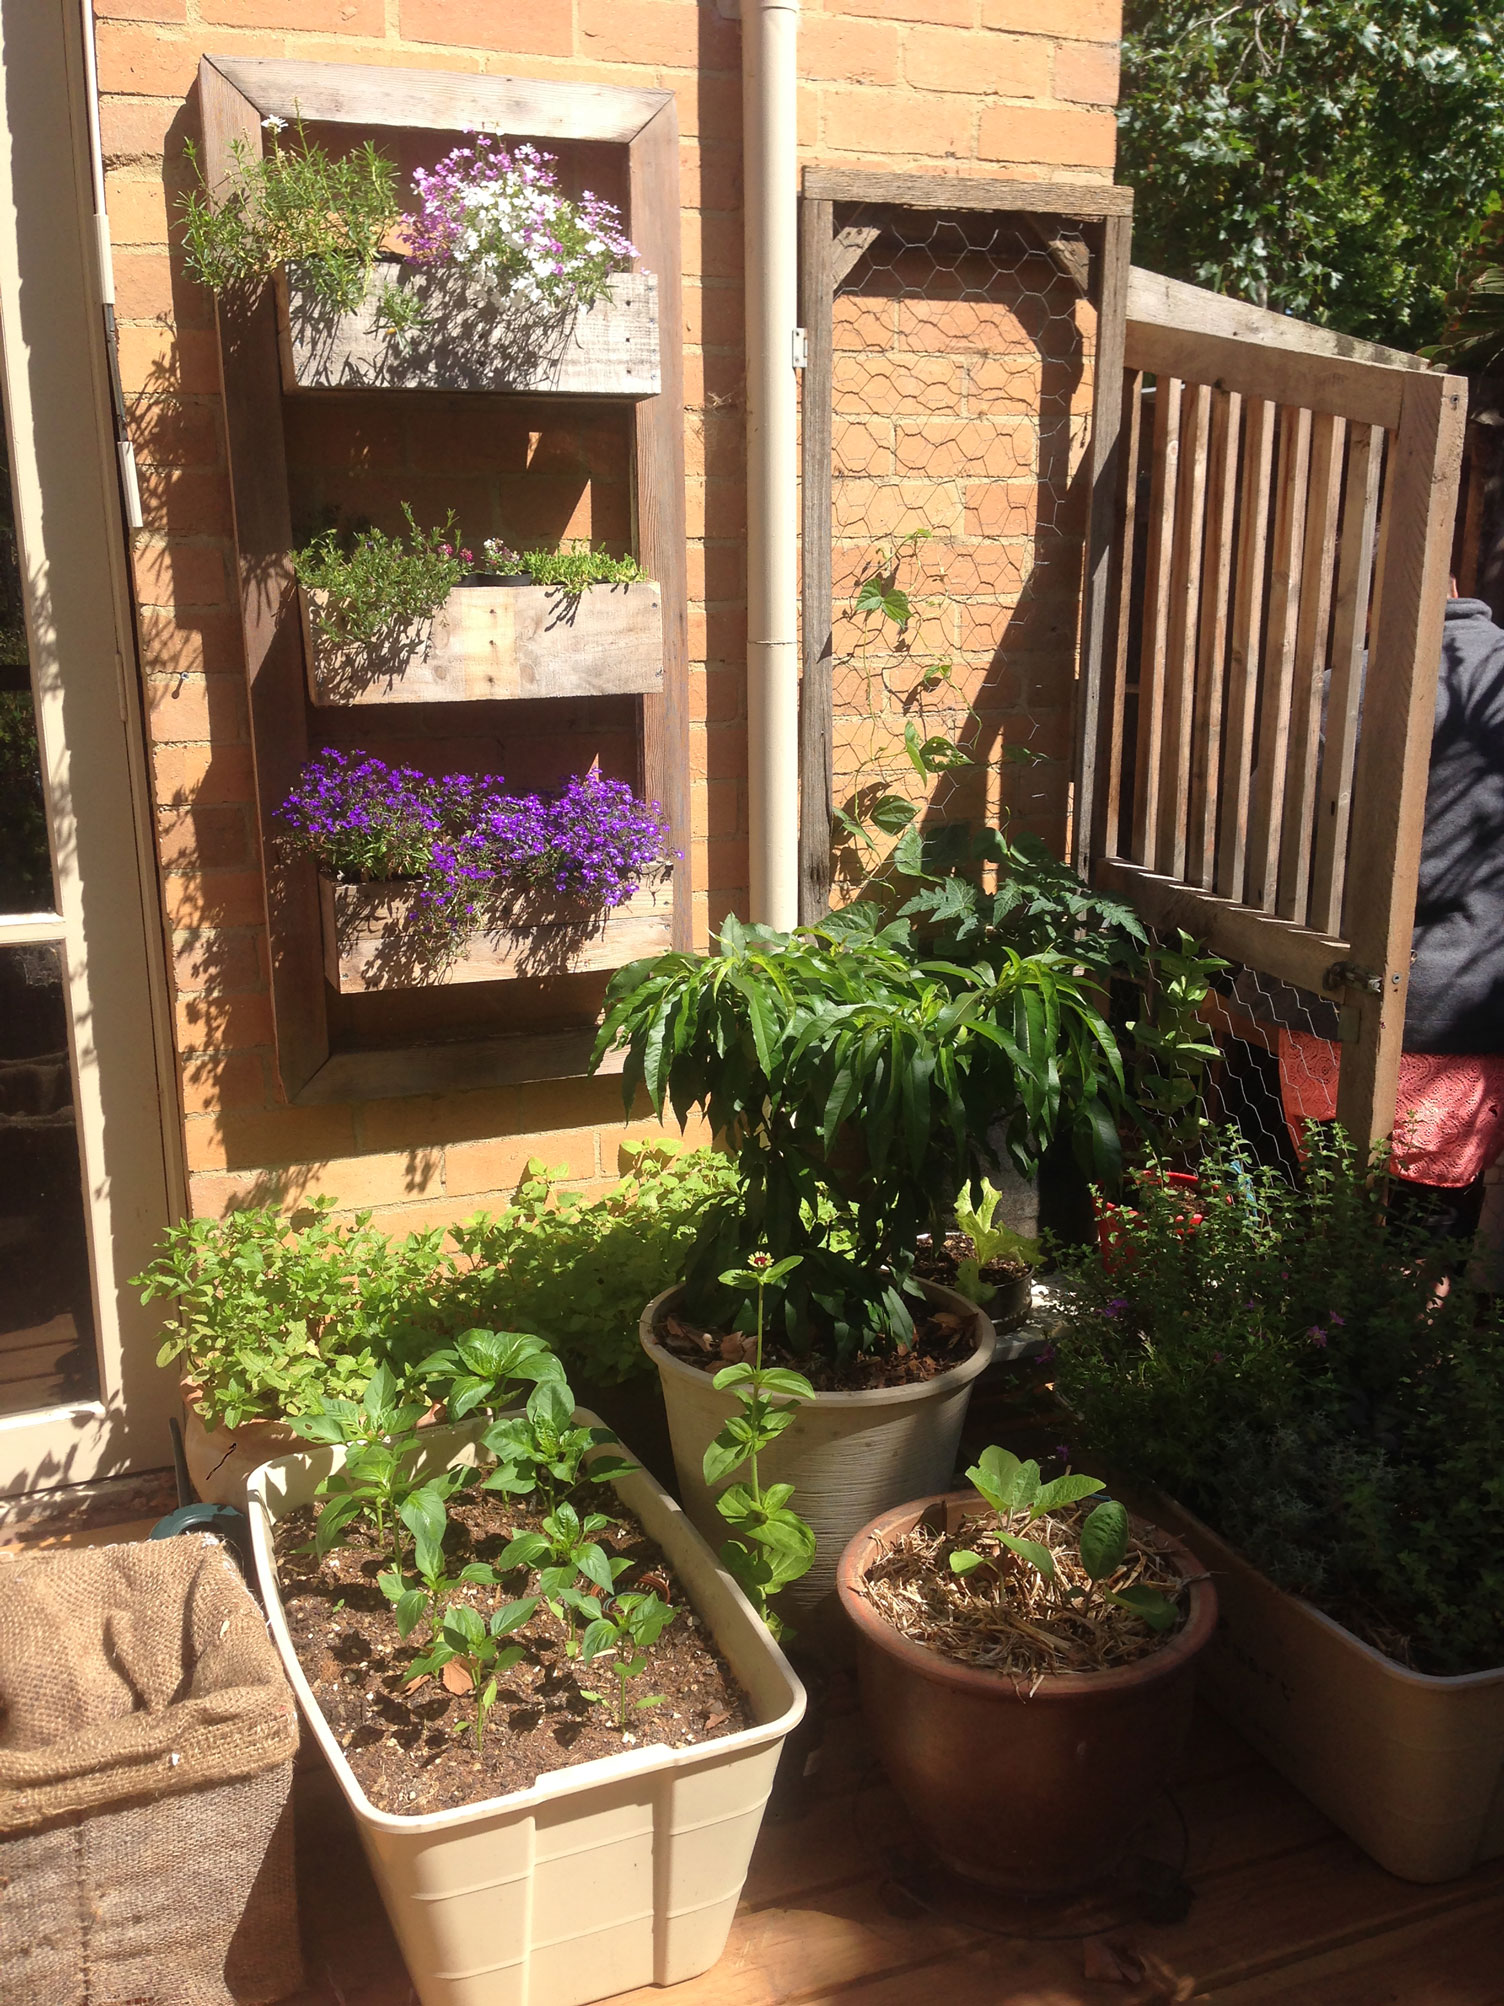
Pots can be made out of old bathtubs, or food grade plastic buckets which are often available free from local restaurants. While some leafy greens and herbs will grow in soil only 15cm deep, these containers will dry out very quickly in summer and larger vegetables will be stunted. Most vegies prefer about 30cm soil depth. Make sure there are drainage holes (unless you’re making a wicking or self-watering pot in which case you’ll need an overflow hole ¼ of the way up the side). Fill with sandy soil or good quality potting mix.
Improving your soil
Healthy soil is dark, crumbly and spongy. It’s like a chocolate cake with the smell of a forest floor! It’s surprisingly easy to improve soil on a small scale. While 90% of soil is minerals (sand, silt and clay), air, and water, it’s the 5-10% ‘organic matter’ decomposed from things that have lived before (eg. leaves, manure) that has the biggest impact on soil health. Organic matter sustains microorganisms that are essential for creating good soil structure, feeding and protecting plants from disease. Organic matter is usually added by gardeners as mulch or compost. It is used up by plants and must be continuously cycled to maintain healthy soil.
Don’t give away your garden’s fertility by dumping your organic matter in a green bin! Make compost or feed a worm farm with kitchen scraps, grass clippings, shredded newspaper and cardboard. You can also ‘chop and drop’ old plants at the end of each season and leave them as mulch for the next crop. Work at least 3-5cm of compost or worm castings into the top 10-15cm of your soil before every crop. Mushroom compost is a reliable substitute if you don’t have enough homemade compost, unless your soil is already too alkaline (see below). Many vegies will benefit from an extra nutrient boost such as poultry manure, blood and bone or other organic fertiliser.
Your soil may be sandy, clayey or a balanced loam somewhere in between. Sandy soils have good drainage and aeration but poor nutrient and water holding capacity. Clay soils hold onto water and nutrients but can have poor drainage and aeration. Regardless of your soil type, regular additions of organic matter will improve your soil structure. If your soil is extremely sandy, research bentonite clay to improve your soil structure so it holds moisture and nutrients. If your soil is extremely clayey research a dispersion test and if your soil is highly dispersive you can add gypsum to improve soil structure.
pH measures the acidity/alkalinity of your soil and influences the range of nutrients that are accessible to your plants. Most plants grow best at pH 6.5-7.5 which is close to neutral. Use a pH colour test kit to check. If soil is only slightly outside this range compost will bring it towards neutral. Otherwise, you can use elemental sulphur to lower pH (make soil more acidic), or lime to increase pH (make soil more alkaline). Application rates will depend on your soil type (sand/clay) so check the bag for guidance. Another option is to grow what is best suited to your natural pH.
Plants will grow better if roots, water and air can go deep into the soil. Gently aerate and break up any compaction by levering your soil open with a garden fork before planting. Good management will continue to improve soil structure over time.
Watering
Some plants are more tolerant of dry conditions than others, but for vegetable production generally the aim is to maintain soil moisture around the root zone. Poke your finger into the soil about 10-15cm deep and it should feel cool and moist like a damp sponge. If not, it’s time to water.
Check water restrictions and water early or late in the day to avoid losses to evaporation. Aim your water at the soil, not the plants! Keep checking with your finger to see how deep the water has reached.
Check your soil moisture all year. In Naarm/Melbourne you’ll usually still need to water in the cooler months, though less frequently.
Maintain a thick layer (about 7cm) of soft mulch (eg. autumn leaves (no eucalyptus), shredded paper or cardboard, straw, lucerne, dried grass) over the warmer months. Wood chips are best suited for mulching deep-rooted fruit trees as they can cause nitrogen deficiency problems close to the surface.
Keep adding organic matter (eg. compost, worm castings) whenever you replant vegies, which acts like sponge to hold onto moisture in the soil.
During very hot weather (>35ºC), give your vegies a deep watering before the hot weather arrives and set up temporary shade over your garden with old sheets/shade cloth to prevent damage to plants.
If budget permits, drip irrigation or wicking beds can make watering easier and more efficient.
Which plants to grow?
When starting out, look for high-yielding varieties of hardy vegetables that are already favourites in your kitchen. You’ll get the most out of a small space by starting with leafy greens and herbs. Also check out perennial vegetables like warrigal greens, perennial leeks and wild rocket that require less work.
| Some easy veggies for beginners are… | Planting time | |
|---|---|---|
| Silverbeet | A hardy and beautiful plant that provides greens for a whole year if planted in Spring. Much easier to grow than spinach. | Autumn – Spring |
| Rocket (especially wild rocket) | Easy to grow, and versatile. | Autumn – Spring |
| Amaranth | Very reliable, hardy and nutritious leafy green. Prolific self-seeding. Use young leaves fresh in salads or older leaves as a cooked green. | Spring – early Summer |
| Tomatoes | Cherry varieties are the easiest. Indeterminate varieties will need a structure as they can grow 2m tall. | Spring – early Summer |
| Zucchini | Prolific bearer. You’ll only need one plant per person. | Spring – early Summer |
| Green beans | Make 2-3 plantings a month apart for a consistent supply over the warmer months. Climbing beans yield more than dwarf beans but will need a stake to climb up as they can grow to 2m tall. | Spring – Summer |
| Mustard greens (eg. mizuna, Osaka red mustard) | Easy to grow. When cooked the mustard heat disappears. Use young leaves fresh in salads or older leaves as a cooked green. Grows better in part shade than most other veggies. | Autumn – Spring |
Planting
A single well fed and watered tomato will yield more than a patch of stressed and overcrowded tomatoes in the same space. Check seed labels for recommended spacing and work out how many of each plant you can fit. Position plants that need to be picked often (eg. zucchini, cucumbers, beans, basil, sprouting broccoli) at the edge of beds, and plants which will be harvested less frequently (eg. potatoes, pumpkins) in the middle or back sections. Put tall plants on the southern side of your bed to avoid shading sun-loving plants, especially in cooler month.
As a rule of thumb, plant seeds approximately double their width deep, keep moist, put them in a position with bright light as soon as they germinate, and of course remember to label them! Sowing in punnets first makes it easier to look after the seeds and protect them from pests, but root vegetables like carrots and large-seeded vegetables like beans are best seeded directly in the ground. Buying seedlings is easier for beginners than growing from seed, although more expensive per plant.

Managing pests
An organic garden is all about balance and a low level of pests is normal and necessary to maintain populations of predators that naturally manage their numbers. A leaf with a few nibbles is perfectly edible so accepting some damage and doing nothing is often the most appropriate strategy. If the pests are taking more than their fair share, here’s a few examples for keeping them under control:
| Aphids, whiteflies and scale | Sap-sucking pests build up numbers early in Spring but will often be controlled by lacewings, predatory wasps, hoverflies and ladybirds when warmer weather arrives. Plant small, daisy and umbrella shaped flowers like alyssum, calendula, fennel and parsley to attract these allies. Control ants as they farm and protect these insects. White oil and homemade sprays of chilli, garlic and soap are often effective. Organic pyrethrum is a last resort but should be used with caution as it is toxic to bees. |
| Caterpillars | Prevent adult moths and butterflies from landing and laying eggs on susceptible crops (eg. broccoli, cabbage, kale) with fine netting. Weekly handpicking or egg-squashing will minimise damage. As a last resort you can use Bt (sold as ‘Dipel’ or ‘Caterpillar Killer’), a bacterial spray that is toxic to caterpillars but safe for other creatures. |
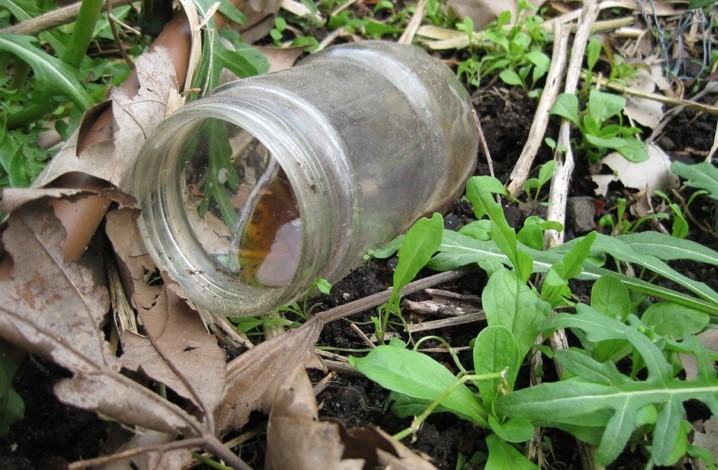
| Slugs and snails | Slugs and snails are most active at night after rain or watering. Handpicking over several evenings will minimise damage. Minimise hiding spots, or use these as traps to check during the day. A beer trap every square metre. Protect seedlings with a cloche until they are big enough to survive and outgrow attack, but remove in hot weather. |
| Possums | The most effective method is exclusion. Use good quality small gauge netting or build a wire cage or floppy fence (50mm max hole size). For larger areas with more acute problems a pingg string electric wire is a safe and highly effective option. Water sprays on a sensor are also reportedly effective. |
| Mice and rats | Ensure rodents cannot access animal food, compost bin or worm farm. Snap traps are recommended by the RSPCA but must be checked regularly and baits are most tempting in late winter/early spring when other foods are scarce. Exclusion with wire mesh (10mm max hole size) is possible but tricky in practice. Domestic cats and dogs are a great deterrent but must be outside and night to be effective. Make sure they are not a risk to local wildlife by enclosing them within your food garden area. |


Harvesting
Most vegetables grow for 2-3 months before they are ready to harvest, though some like radishes can be harvested in just a month. Many ‘fruiting’ plants such as zucchinis, cucumbers and beans are more productive if picked regularly. Leafy vegetables like silverbeet and kale can be harvested repeatedly over a long period. Instead of cutting the whole plant, start harvesting the outside leaves when the plant reaches about 30cm high and always leave at least 6 large leaves so it can continue growing.


