




How to dehydrate fruits & veggies
By Anna Matilda, The Urban Nanna
Why dehydrate your own food?
Dehydrating food is one of the oldest forms of preserving, and it’s a brilliant skill to master if you’re interested in moving towards a low-waste lifestyle, as dried ingredients form the basis of so many delicious ways of enjoying food. It’s a comparatively low-energy way of preserving seasonal produce while it’s abundant, meaning you’re working long term to make the most of natural resources and reducing waste.
Once you’ve learnt to dry fruits, veggies and herbs, you’ll have ingredients you can use for making granola, flavor rubs, seasoning flakes, stuffing blends, stock powder, fruit leather, risotto mixes, bliss bomb blends, baked-goods flavourings, dessert toppings, and much, much more.
Basic dehydrating facts
You don’t need any expensive specialist equipment to dehydrate foods: you can dehydrate things in baskets or on screens in the sun; by hanging in a warm, airy spot; in the oven; and even in a microwave.
If you find yourself wanting to dehydrate food in larger volume or more frequently, you may then like to consider using a commercial dehydrating unit. Before buying new electronic equipment though, check to see if your local Library of Things/Stuff has a unit you can borrow. Also consider asking to borrow a unit through online permaculture & Buy Nothing groups on social media.
Size and position
The thinner you slice ingredients, the faster they dry (more surface area means more places for inner moisture to escape). Because fruits, veggies and herbs want to avoid drying out in nature, their skins form a moisture barrier. Therefore, peeling or cutting foods into thinner pieces will help foods dry quicker.
Foods dry when warm air passes over them, pulling moisture from within the foods with it. Therefore, to dry efficiently, there needs to be enough space around all sides of the food for the air to flow freely. So make sure there is a bit of space between food items when you lay them out to dry, and avoid overlapping them.
Drying temperatures
When setting the drying temperature, note that the lower the temperature, the longer it will take for foods to dry. Of course drying times will vary greatly depending on which method you use (see below). But as a rough idea, thin things like leafy greens, herbs and flowers can dry through in as little as 2-3 hours, whereas thicker, wetter things like juicy produce or fruit leather can take anywhere from 12-20 hours to dry through properly.
Use lower temperatures (35-45C) for more tender ingredients, or things with volatile oils like soft herbs, thin leaves or flowers. This prevents them scorching and preserves the flavour best.
More juicy things like fruits can withstand higher temperatures (45-70C), but at the higher end they may cook rather than dry. Produce with higher sugar concentrations (eg oranges, peaches) can change flavour profile when dried at higher temperatures, as the sugars will start to caramelize.
Robust ingredients like firm vegetables dry well at higher temperatures (60-70C).
Ways of drying food
There are several ways to dehydrate food, and it’s useful to know about each of them so you can make the most of your time, resources and energy.
1. Dehydrating food in the sun
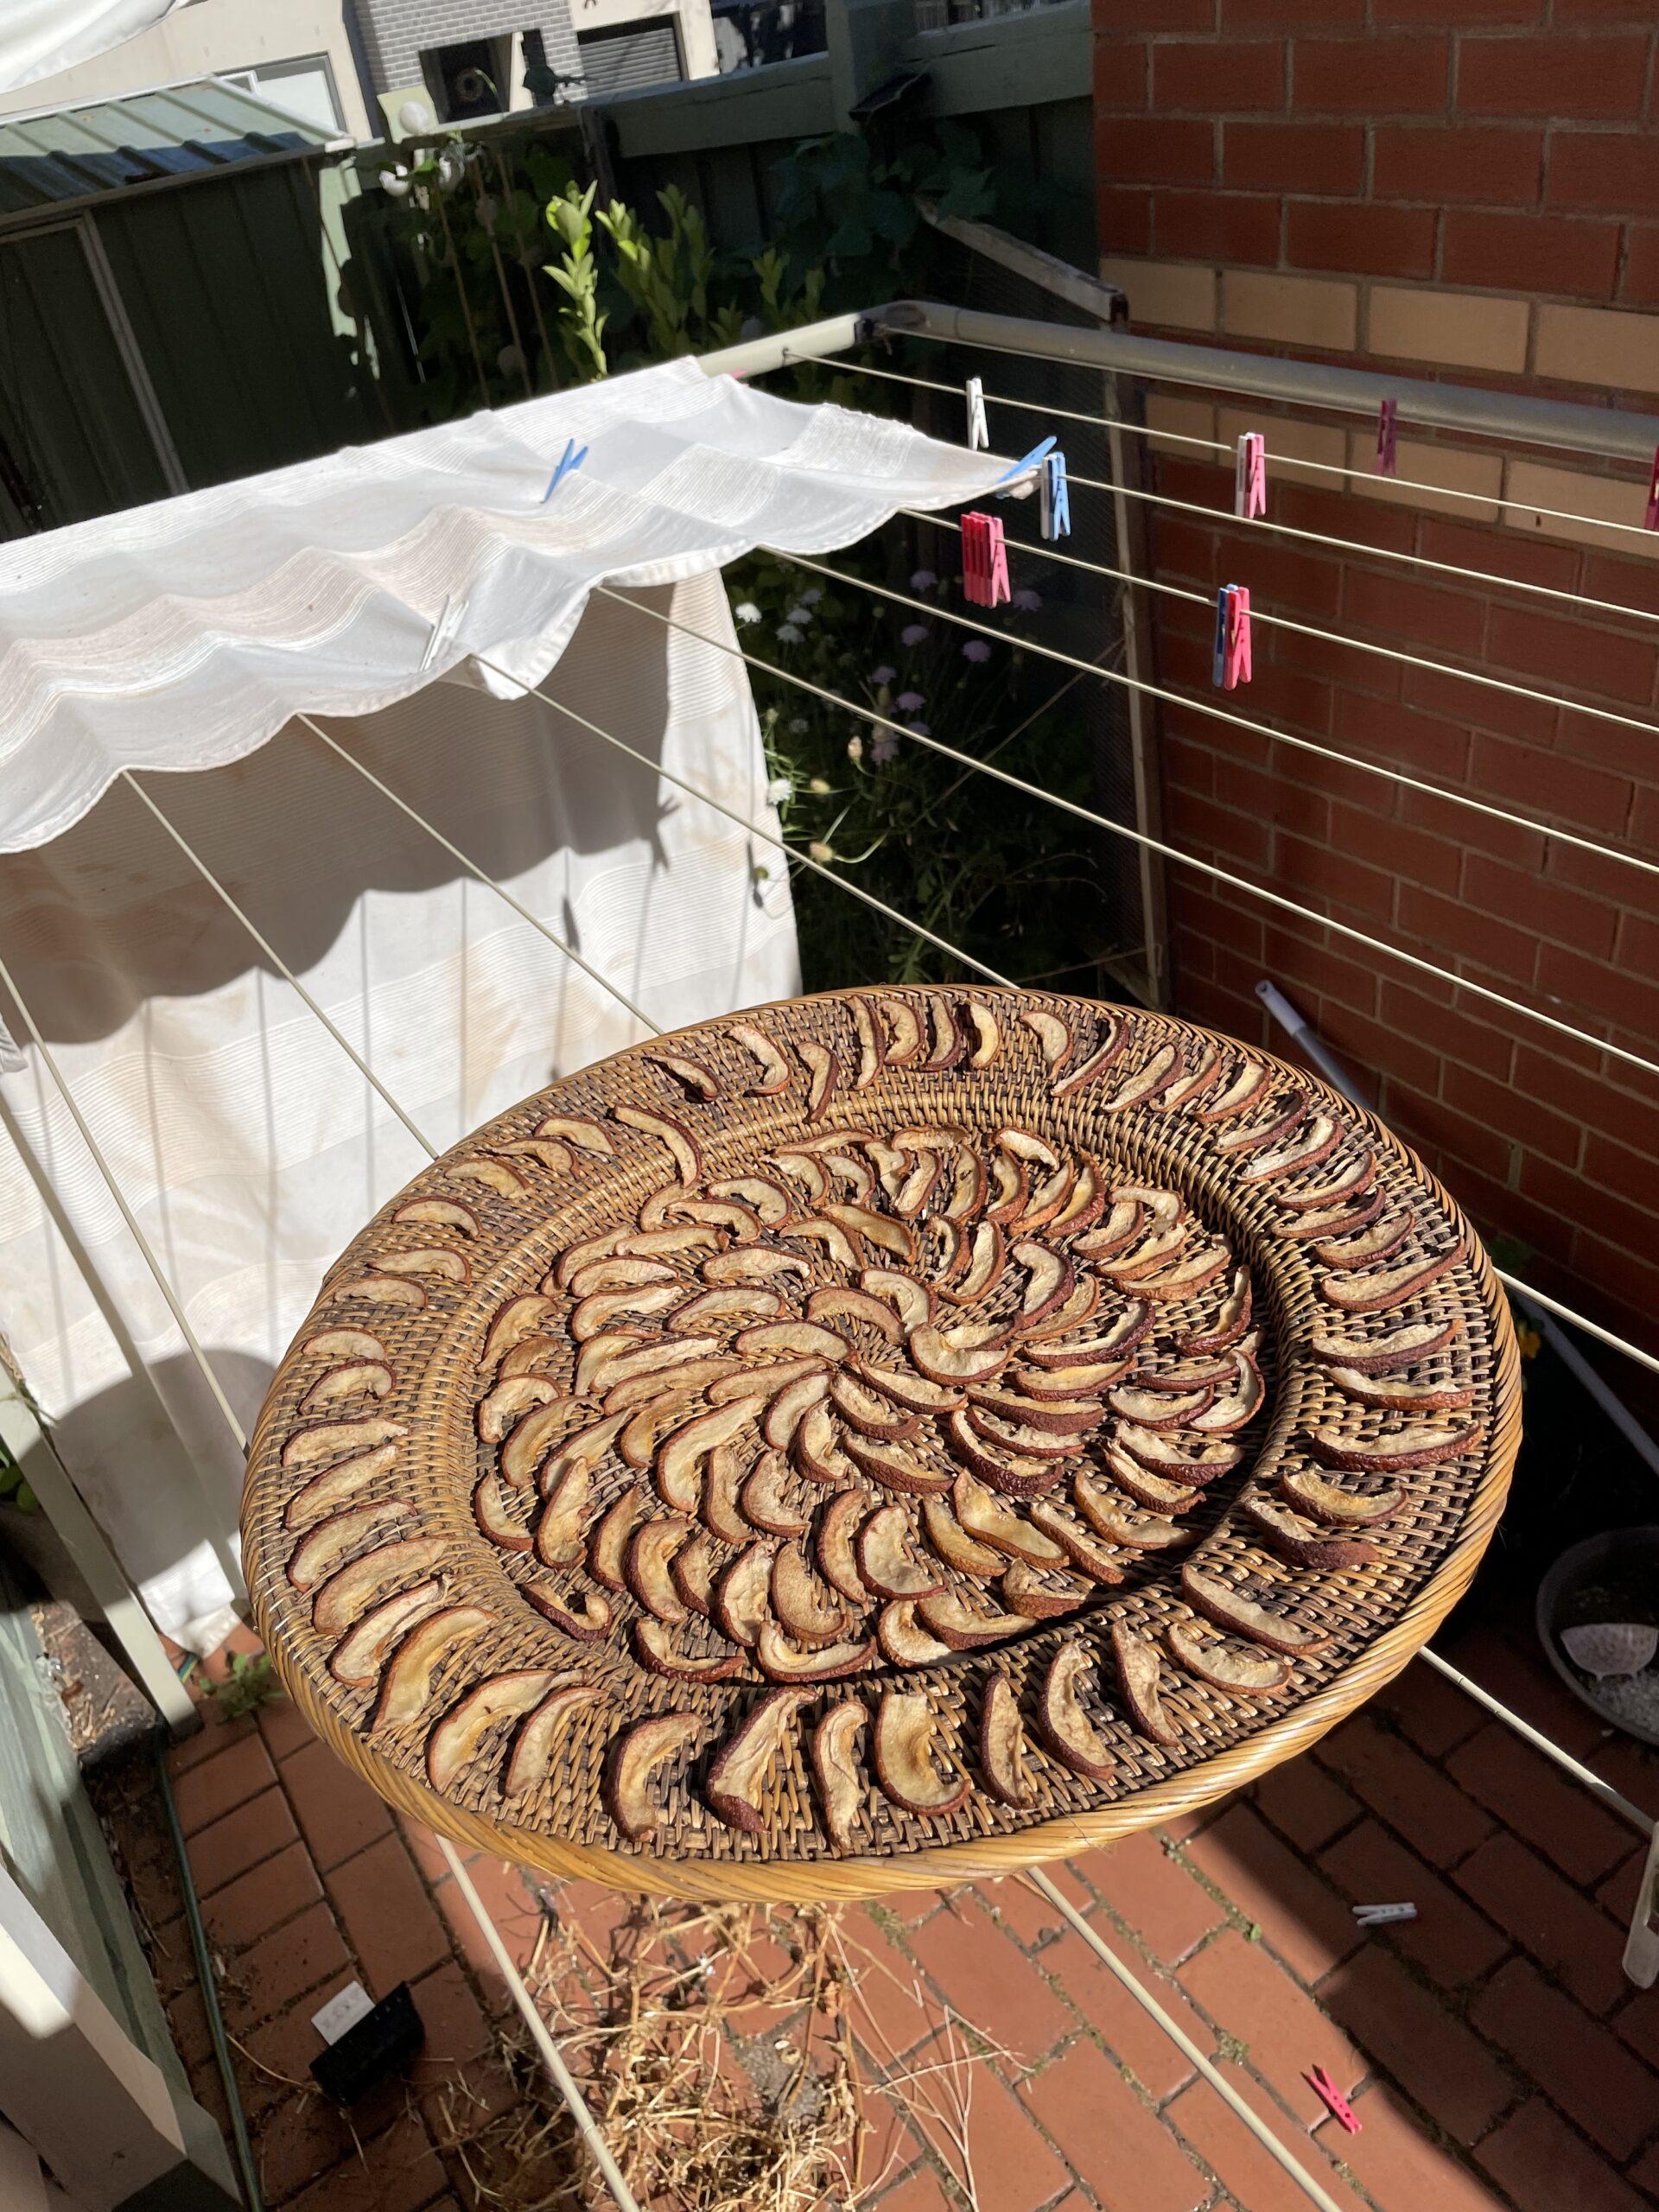
Use flat baskets with a fine flat weave, or lined with tea towels, muslin or thin paper (compostable baking paper works well) so ingredients don’t get stuck in the weave. You can also use mesh trays (cooling racks for baking are useful if lined), or a window mesh screen for larger quantities. If you want to make your own screen, a piece of shade cloth tacked onto a basic wooden frame works really well.
Lay out ingredients, making sure to keep them single layer and leaving a bit of space around each piece. Place the tray in a spot you know will get full sun during the day, and bring inside at night. Repeat until you are happy with the dryness of your ingredients.
You need to make sure there is airflow around the ingredients, so propping the basket/screen up on some bricks or a few bits of wood is a good idea. To deter wildlife, place a thin teatowel, muslin or fine material (a clean, very thin scarf can do the job beautifully) like a tent over the food, and secure at the edges with clothes pegs.
You want as much heat as possible when dehydrating outdoors. You can maximise the thermal mass captured around your house by placing your setup over concrete, bricks, pavers or even a metal roof in a sunny spot. These materials absorb and store the heat from the atmosphere and release it slowly – that’s why some areas feel warm well after the sun has gone down. Basically, think of the spot outside that you avoid on stinking hot summer days because it captures the heat so much, and put your setup there!
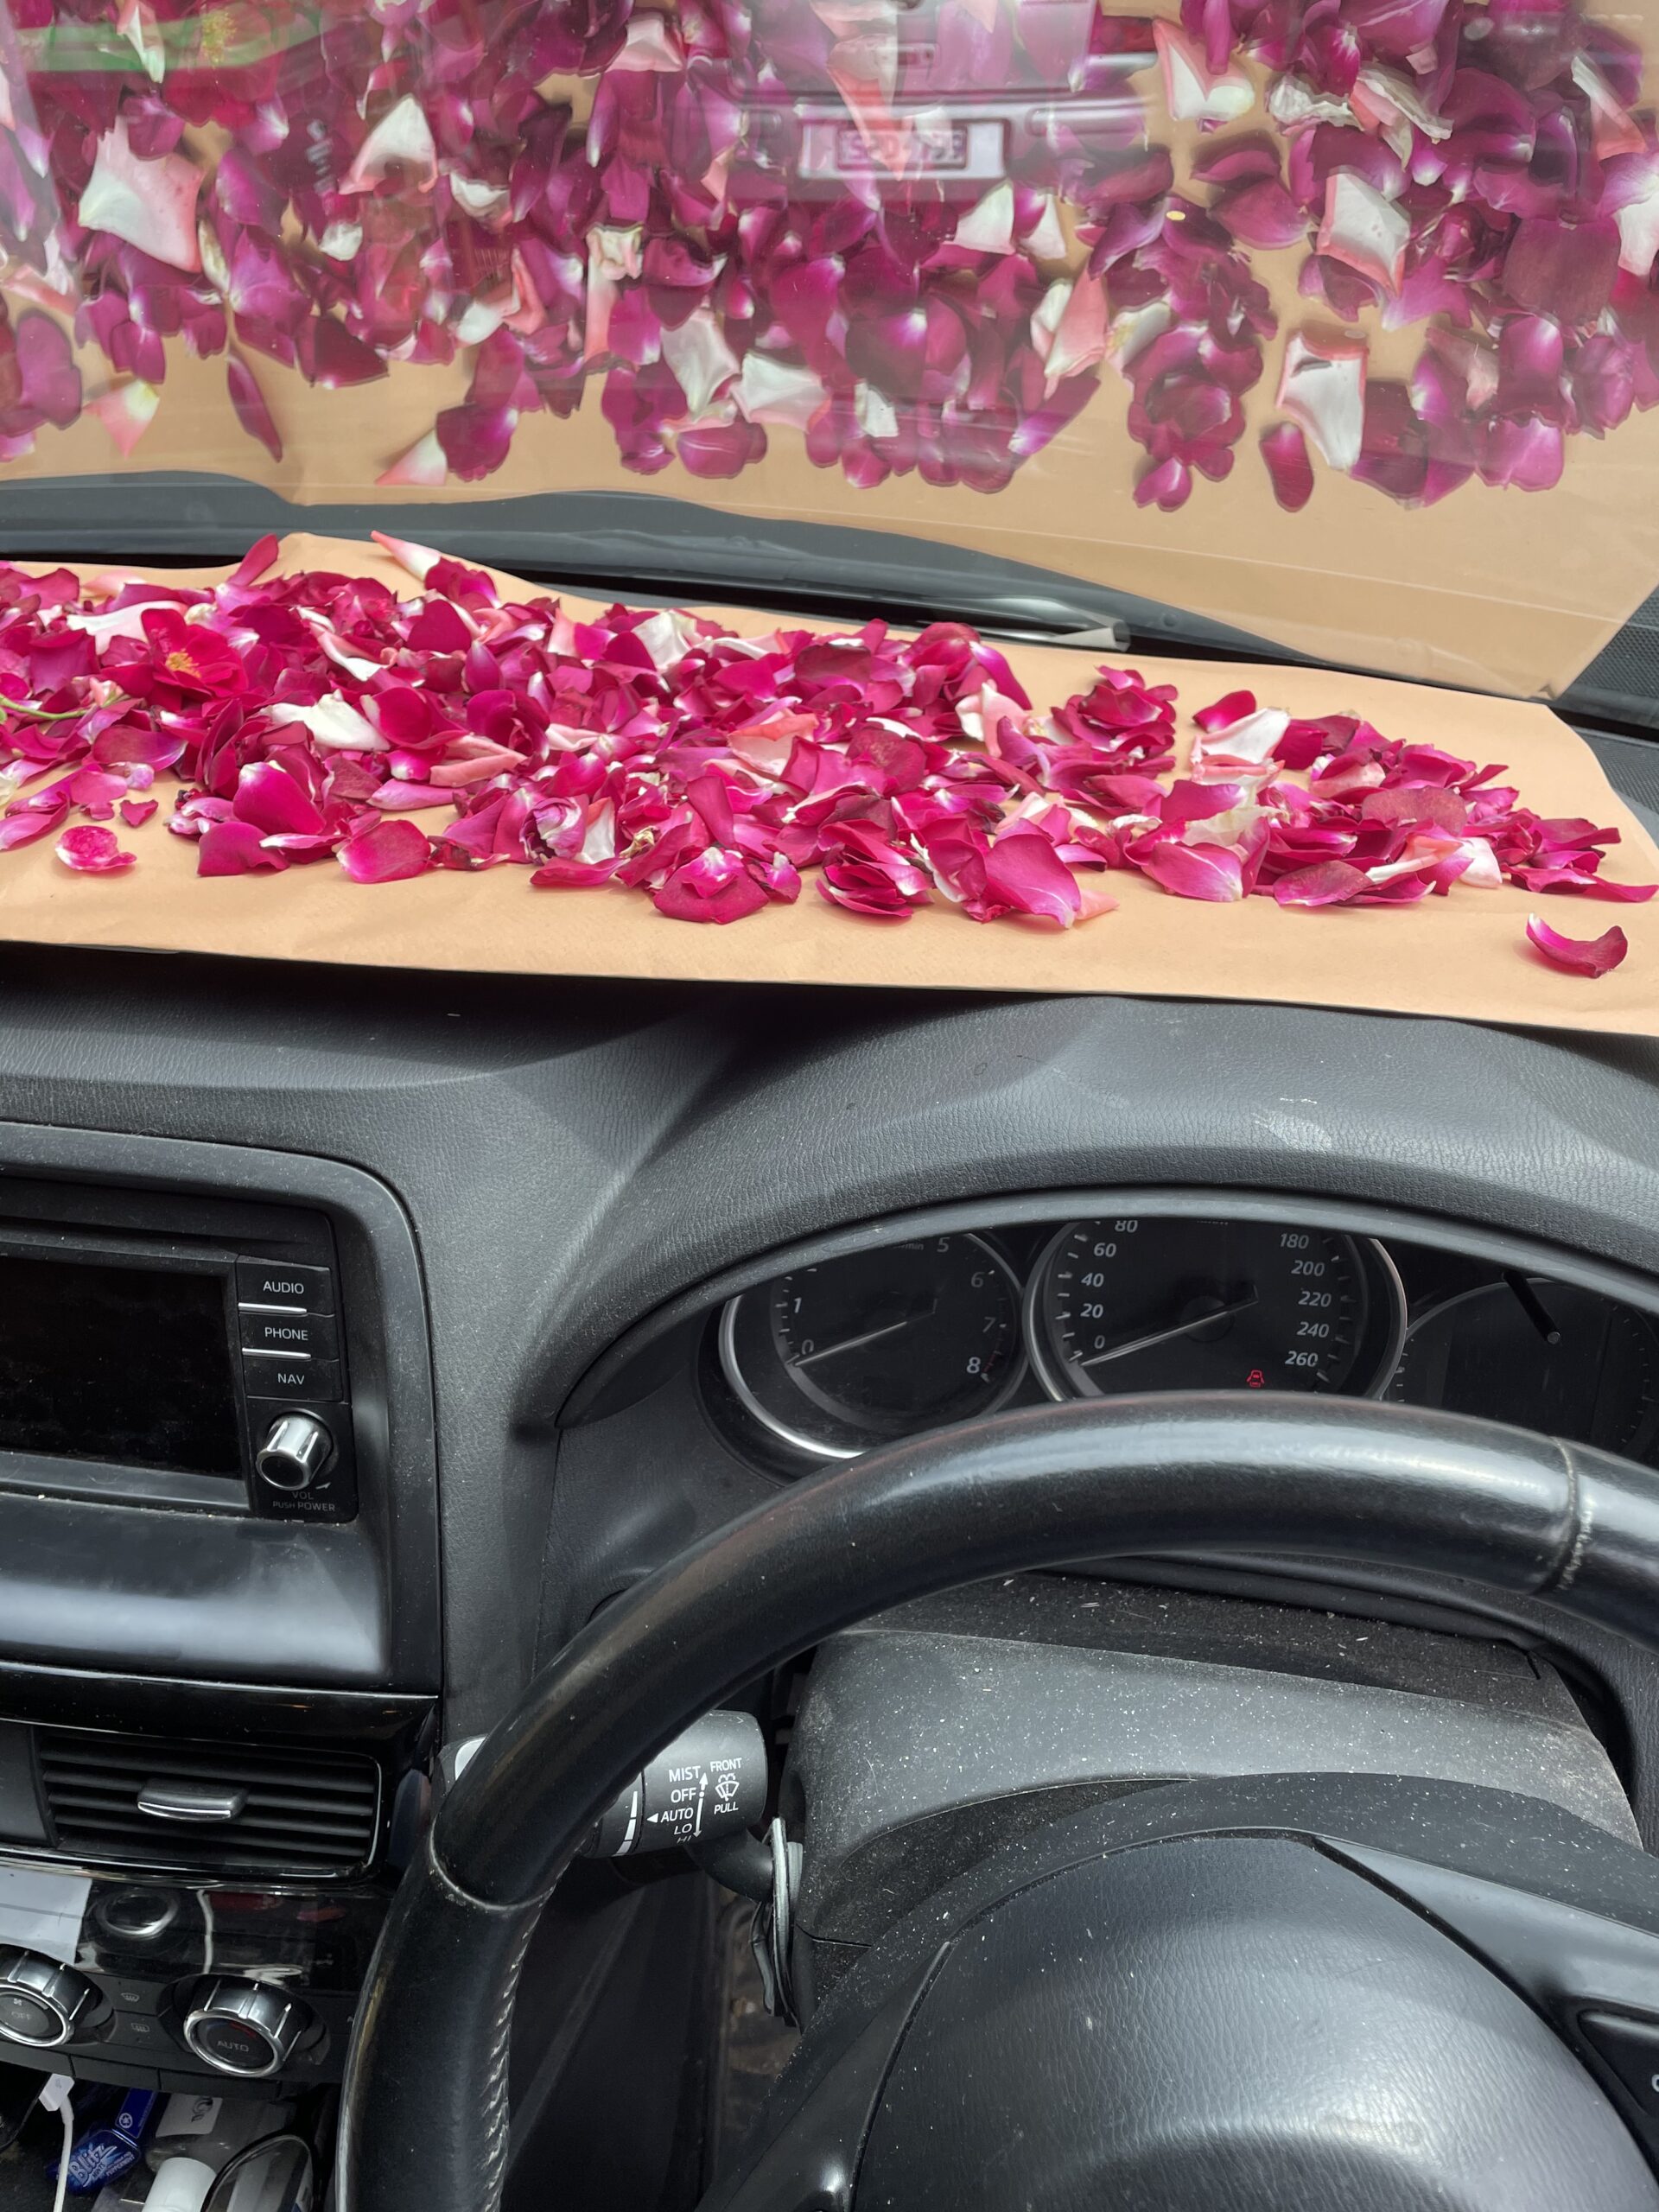
Another simple, efficient way of solar dehydrating is to use the dashboard of a car to dry small batches of food. Simply place clean cloths or large pieces of paper on the dash, lay out food, park in the sun, and that’s it! This method doesn’t need to be taken inside overnight as it’s protected from dew and nighttime wildlife, meaning it’s a great hands-off approach. NB. This is not an advisable method for drying chilli: it’s tricky to drive when your eyes are watering from chilli fumes!
2. Dehydrating food inside
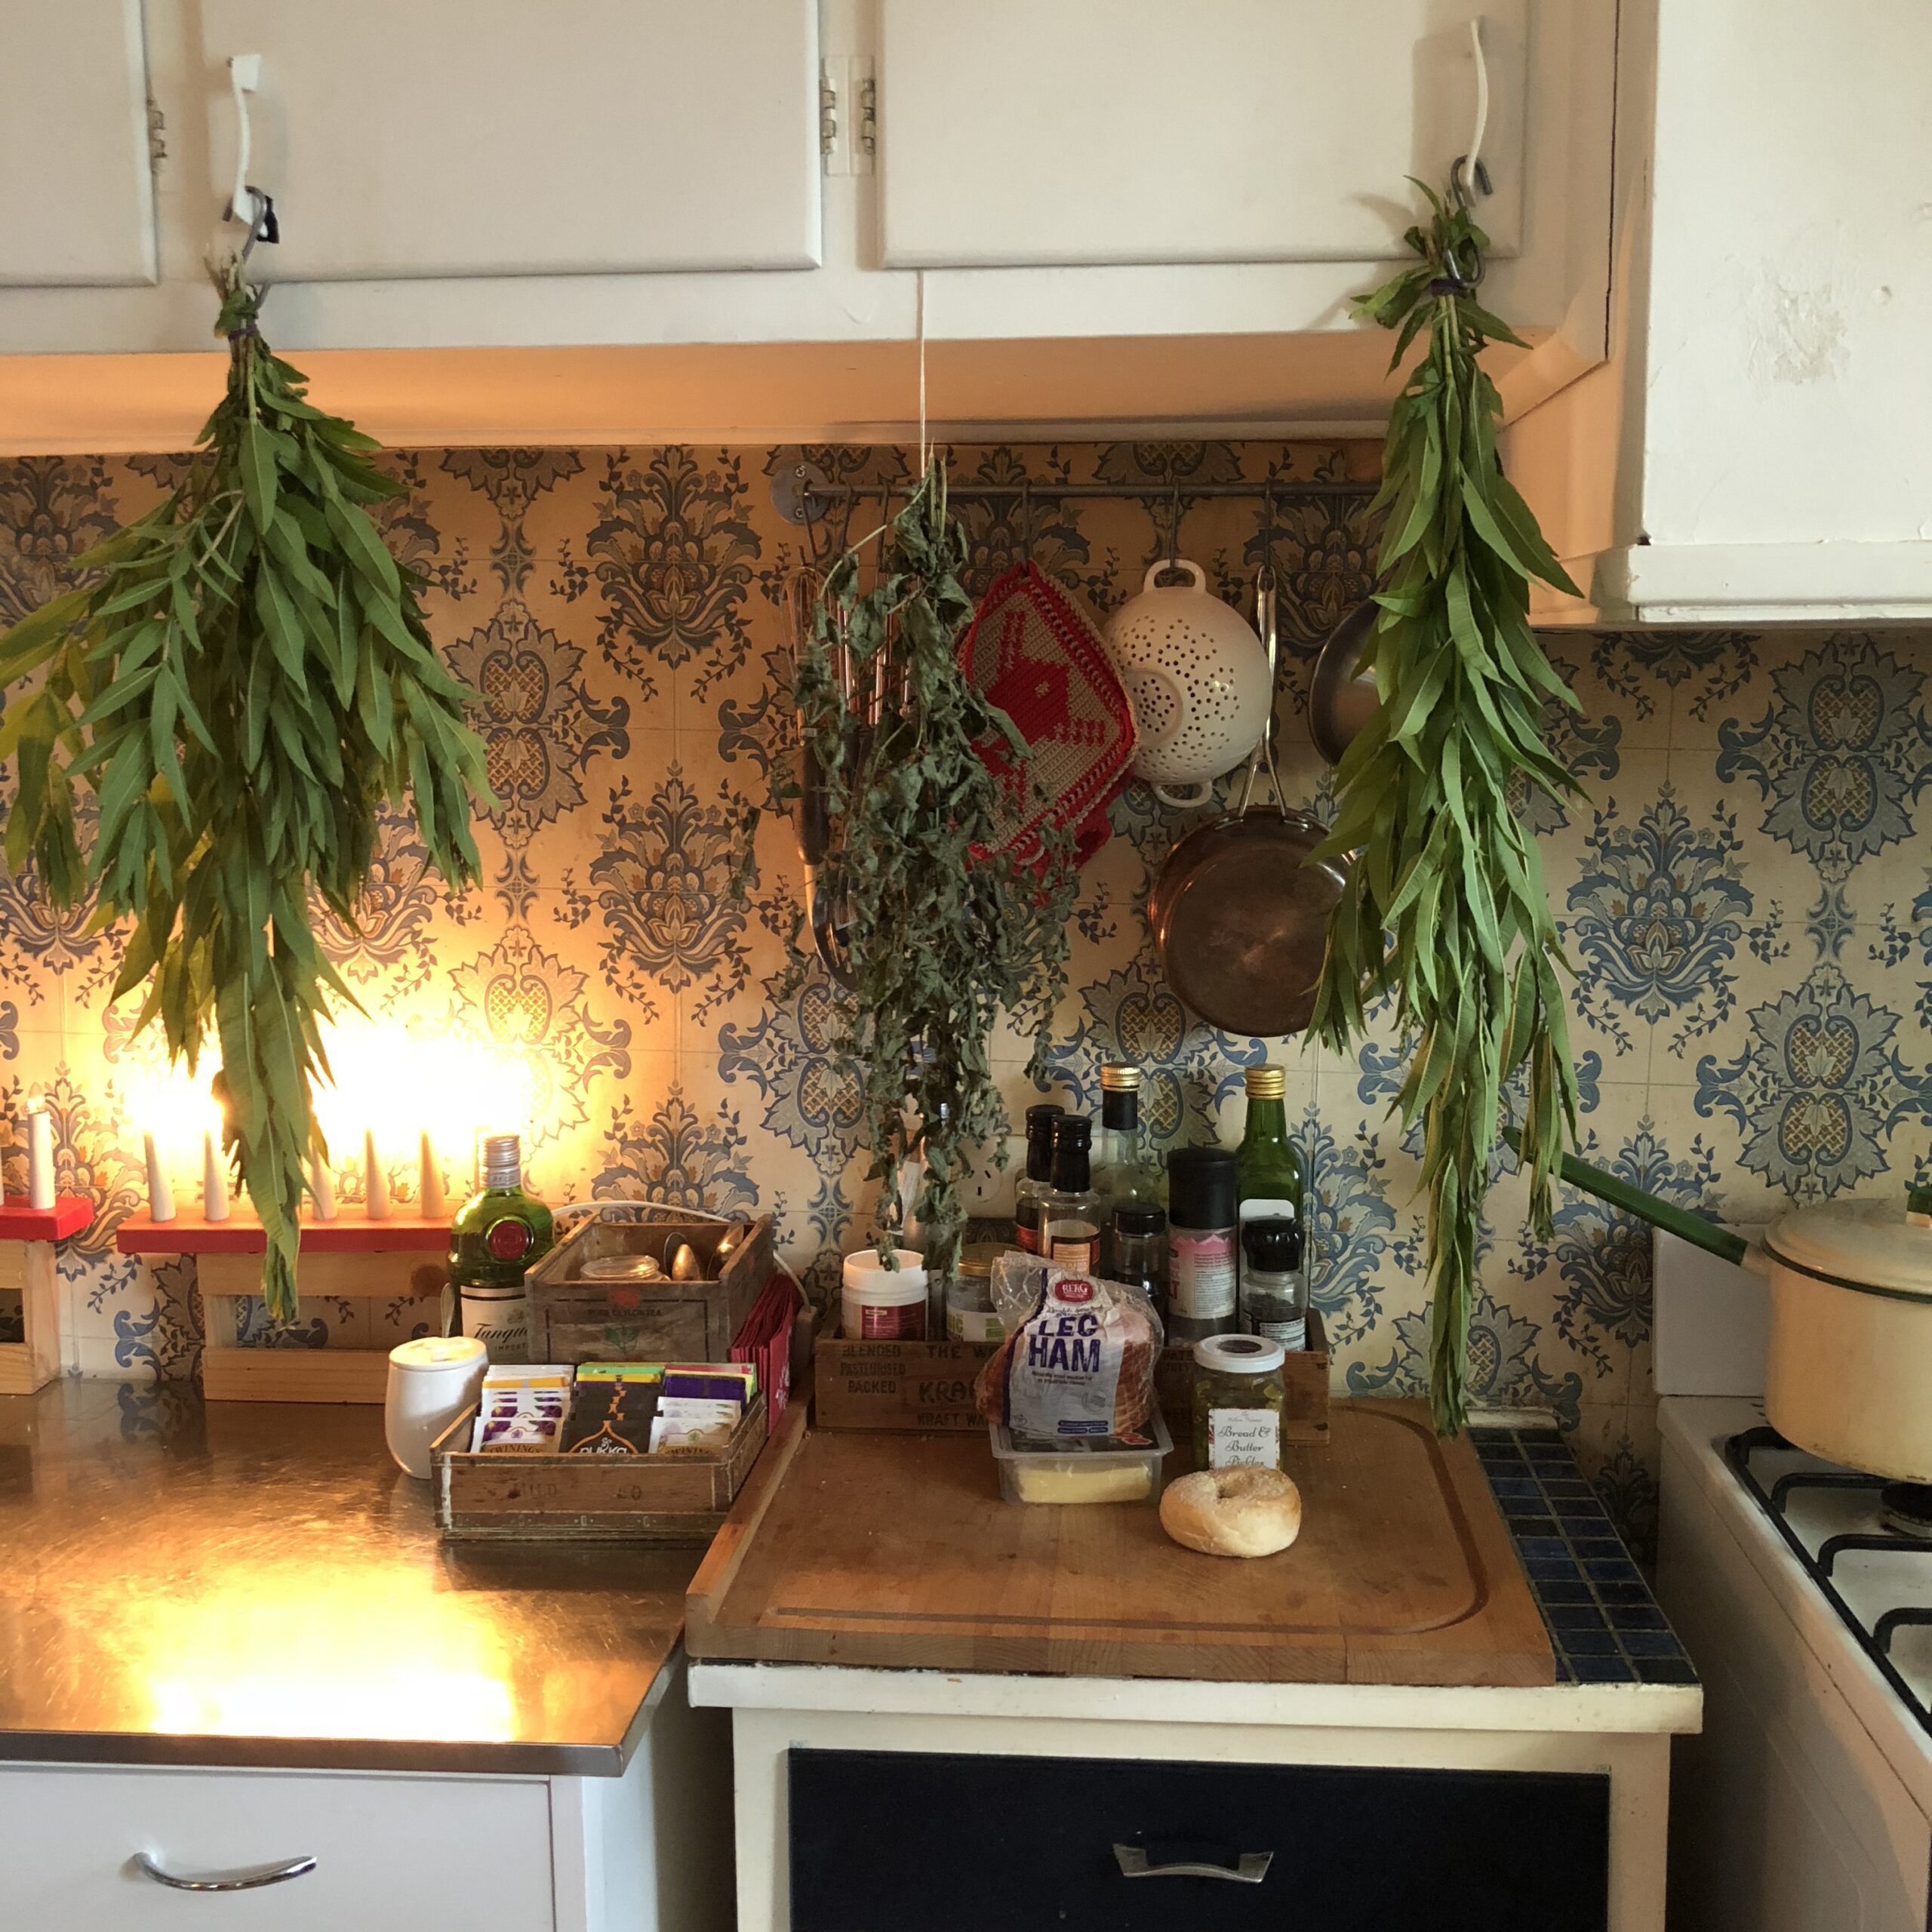
One dead simple way to dehydrate things is to utilise the heat that rises to the higher areas of an indoor room. Traditionally, farmhouses would have racks that could be lowered and raised by ropes so people could tie bunches of herbs and flowers to dry up in the eaves. If you have a wood heater or radiator heaters, hanging things above them is a great way to dry things, otherwise, using sunny north or west-facing windows is another option.
Hang small, loosely bound bunches of herbs upside down from their stems. Slices of apple and sliced root vegetables can all be carefully threaded onto sturdy cotton cooking twine and suspended across a wider area (leave space between each piece so air can circulate). This method was traditionally used for drying mushrooms too.
Softer things like berries (elderberry and hawthorn in particular) can be laid out in their bunches on lined baskets and propped on top of heaters of above wood stoves.
3. Dehydrating food in an electric dehydrator
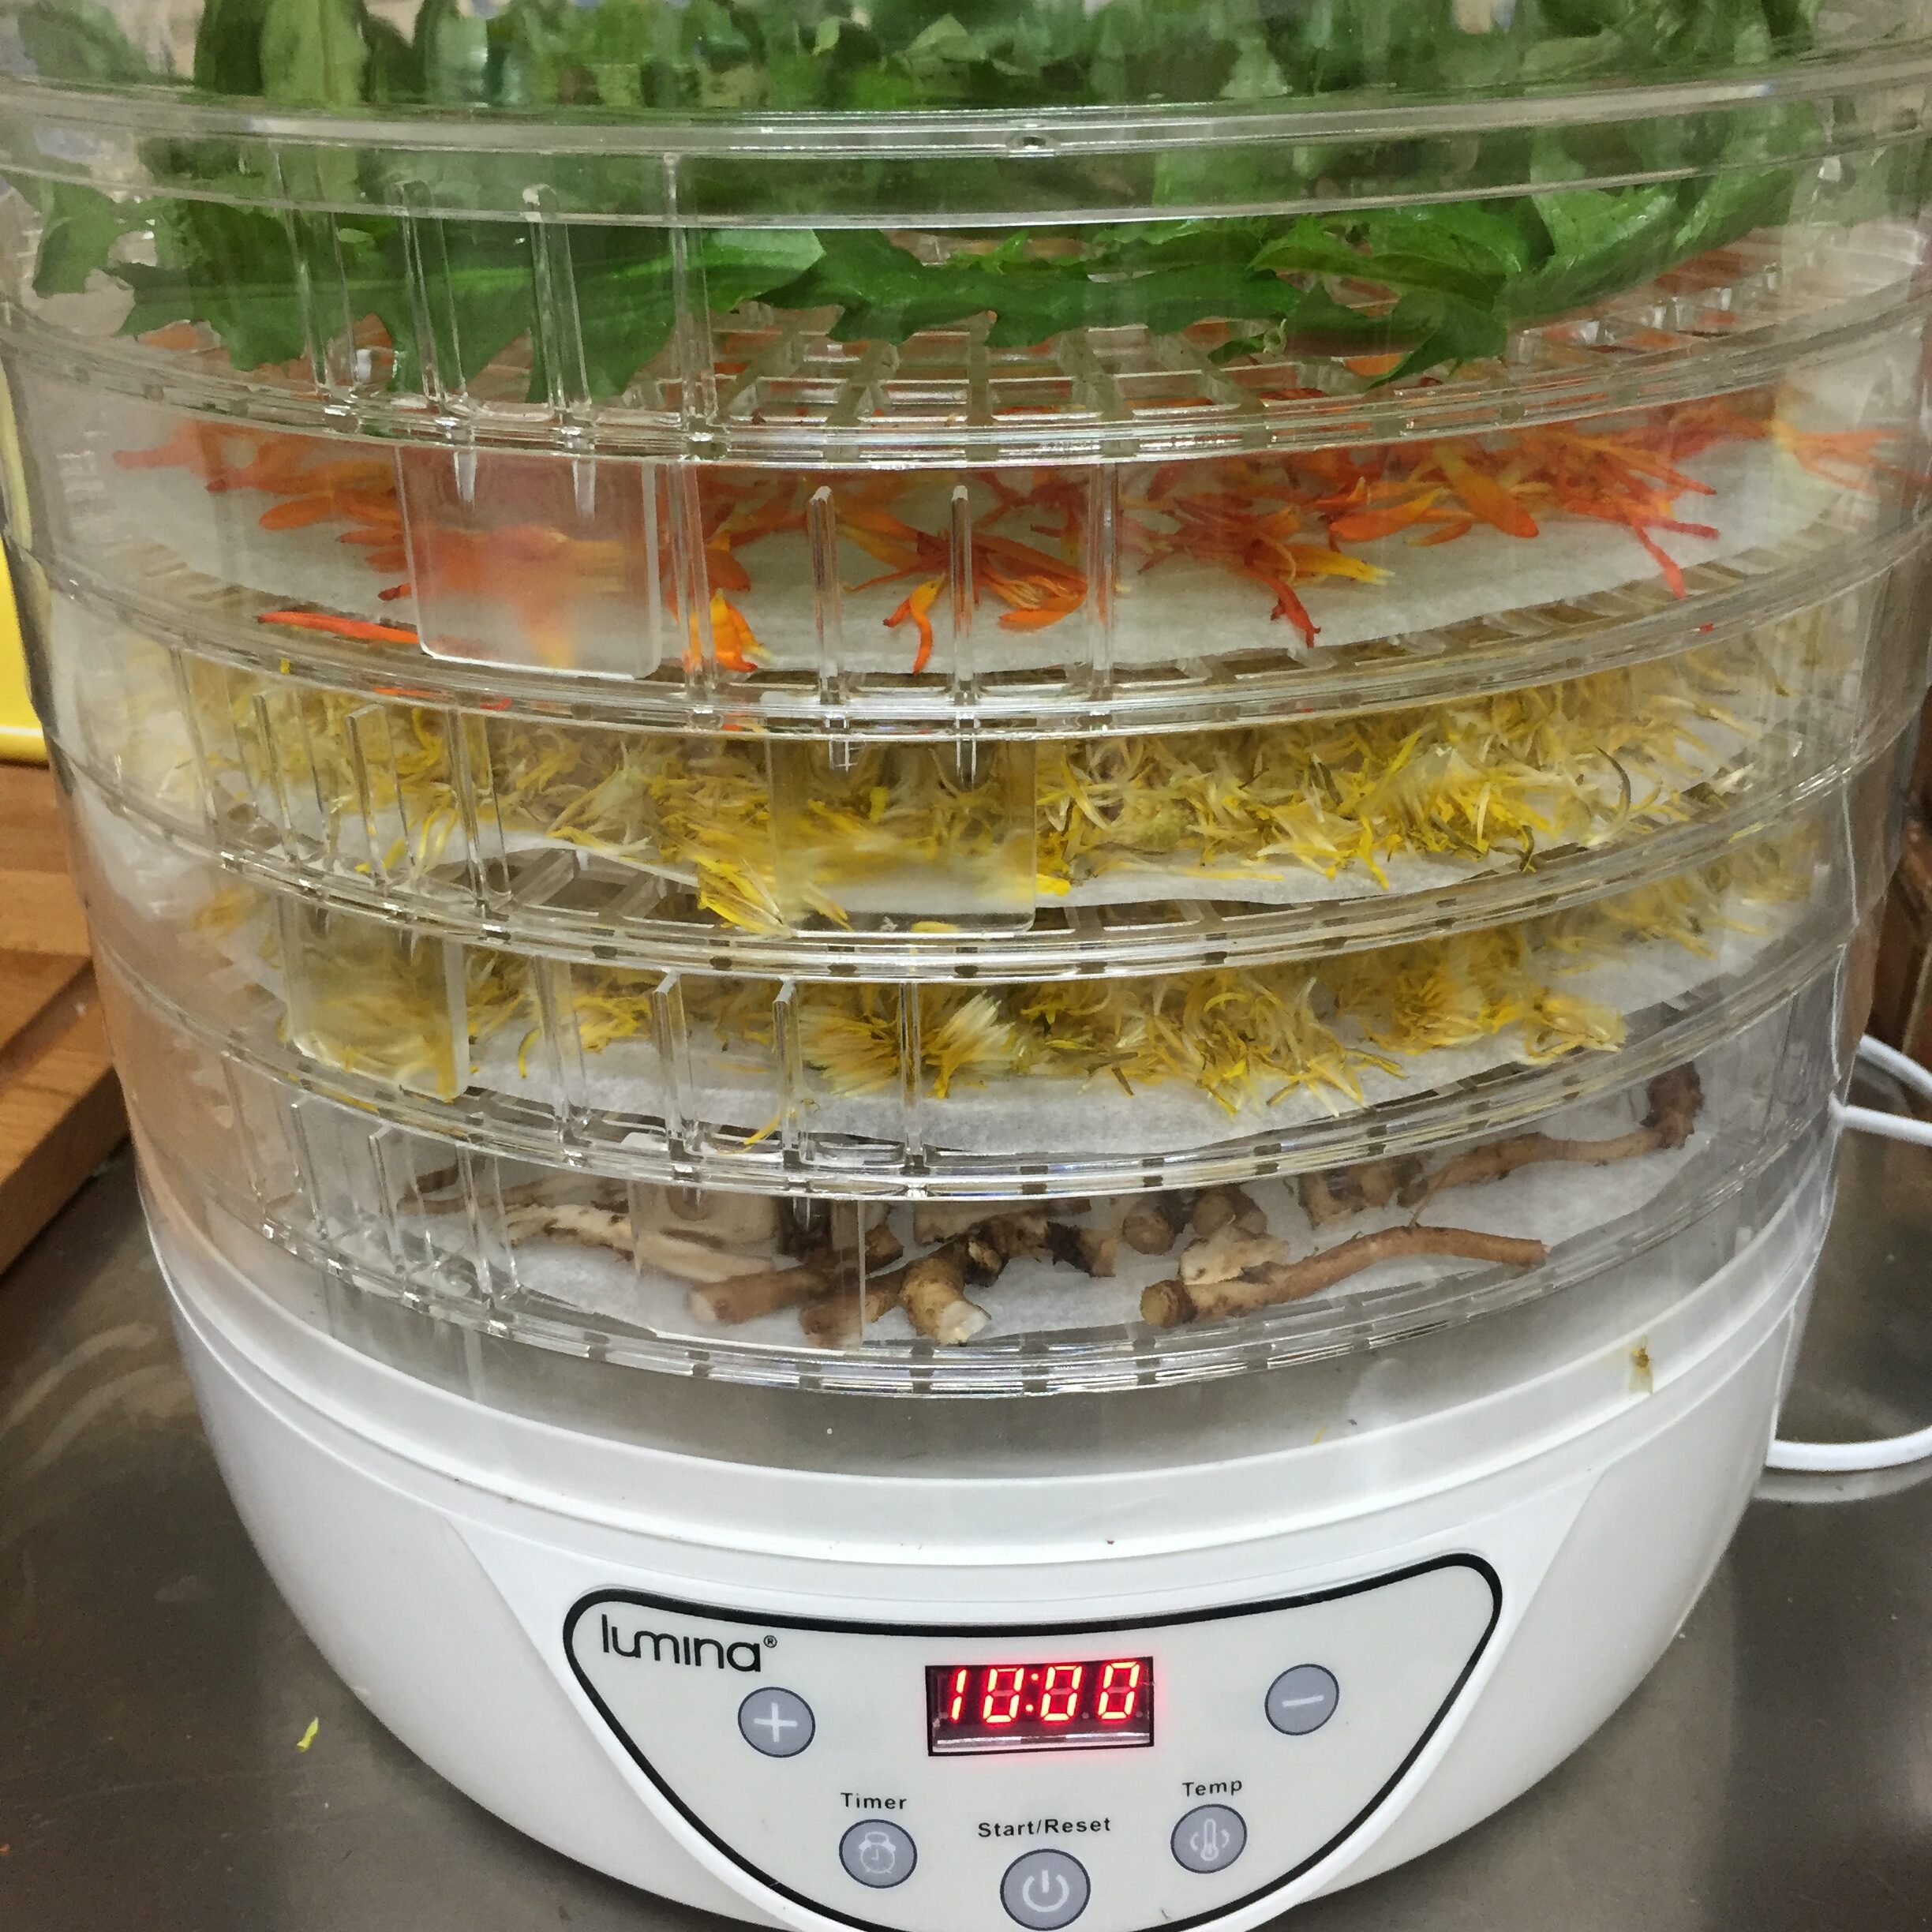
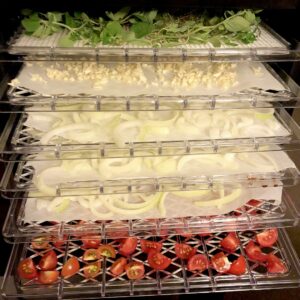
This one’s pretty easy, as most dehydrating units come with an instruction guide. The best advice is to look for units that have metal trays rather than plastic ones, as plastic will deteriorate over time and begin to break. Rectangular units are easier to use than circular ones, especially when it comes to making fruit leathers, as it’s simpler to lay items out neatly and efficiently on a large rectangular tray than have to navigate a ring shape.
You can mix and match the foods you’re drying at one time if they require similar drying temps and times, but be aware that strong flavours/aromas will permeate all items in a dehydrating unit. Therefore, drying chilli or garlic alongside apples may not be ideal. Bananas are notorious for sharing their aroma, so it’s advisable to dry them separately.
4. Dehydrating food in an oven
Dehydrating using an oven is possible, but it does use a lot of energy so it’s probably not the most efficient method. Remember that as soon as you heat most foods above 100 degrees Celsius, you enter into the realm of Cooking rather than Dehydrating, so if your oven doesn’t have temperature settings below this, your options to use the oven will be limited.
There are three basic ways you can use an oven to dehydrate food, each with different conditions, so here’s a rundown;
4.1 On a low setting for a continuous session.
Set the temperature to as low as it can go. Many modern electric ovens will get down to 55C, which is a good place to start for fruits. Anything above 70C is getting a bit hot. If your oven has a ‘warming’ compartment, it’s worth working out how to use it for dehydrating rather than the whole oven.
You will need to keep the door open slightly throughout the drying process so the moisture from your food escapes as it dries. Be aware that knobs or handles above the oven door can become very hot (and potentially melt if they’re plastic) due to the open door, so be careful. You’ll also want to fit as many trays in the space as possible to maximise energy usage, and you may need to rotate those trays partway through if your oven has hotspots.
Drying in one continuous session means you will need to have the oven running for many hours, so don’t attempt this on a Summer day, as the whole house will heat up!
4.2 In repeated short sessions as the oven cools after other cooking.
If you’re a household that uses the oven daily, this is a great option. It involves having your fruit/veg/herbs laid out on trays that you can spare for a few days, and every time you turn the oven off from regular cooking, you pop the trays in once it’s dropped to 100C and leave them in there with the door ajar as the oven cools down completely. You can then leave the tray in the oven until you next need to turn it on again. It will often take several days to dry food thoroughly using this method, but it’s a good option for the energy conscious person, as it uses the residual heat from cooking rather than requiring ‘new’ energy to generate heat.
4.3 On top of or above the oven.
This is primarily for wood-fired oven users. You can hang bunches of herbs and strings of fruit or veg high above the oven to take advantage of the heat generated while cooking, or you can lay out trays of food and place them on top of the oven as it cools after cooking, much like the second oven-drying method above.
5. Dehydrating food in the microwave
This is handy if you want to dry very small batches of things quickly, but would be unsustainable for larger quantities. It’s great for doing a quick batch of herbs.
For herbs:
Lay herbs between two pieces of paper towel or clean teatowel. Cook at standard power in bursts of 15 seconds until crispy.
For fruit or veg:
Lay thin slices of fruit or veg directly onto the clean turntable plate. Cook on the Defrost function for 15 minutes and check. Repeat for a further 10-15 minutes if required. When dry to touch and no longer ‘squishy’, they are done. This works well with apples, bananas, mushrooms and zucchini.
Using & storing your dried foods
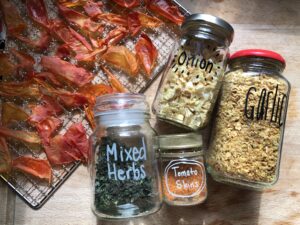
Store dehydrated ingredients in properly airtight containers (old jars are great, as long as the lids are undamaged and seal well), otherwise they’ll reabsorbed atmospheric moisture. Allow dried ingredients to cool down completely before putting in airtight jars. Warmth creates condensation, and if you jar them hot, they’ll cause damp which makes everything rehydrate and can lead to spoilage.
Store jars of dried foods away from heat and sunlight to preserve their colour and flavour. Nutritional content will be more protected away from light as well.
Chuck a silicone bead sachet in the jar with your dehydrated ingredients to absorb any moisture and help preserve them for longer. If you don’t have any, you can use a bit of rice tied in a bit of cotton fabric instead.