Preserving your summer harvest
Notes prepared by Anna Matilda (The Urban Nanna), 2025
Growing our own food can be a hugely rewarding process, from a physical, financial and even emotional point of view. Watching tiny seeds germinate and seeing plants grow strong and produce luscious foliage and plum fruits fills us with a sense of accomplishment and joy. Knowing that we get out what we put in allows us to make decisions on plant care that mean we end up eating healthier, chemical-free food, and the flavour of homegrown food, ripened on the plant, is unparalleled.
But one thing many home gardeners find themselves having to deal with is something that non-gardeners rarely consider: seasonal glut. Farmers and foragers are familiar with the idea that there are certain times of year when you’ll have more ripe produce than you can eat, and that there’s a sense of urgency to do something with all that food before it starts to decompose. But for the average home gardener, it can feel overwhelming to suddenly find your dining table overrun by tomatoes and zucchinis the size of your head. That’s where preserving comes in.
CATCH & STORE ENERGY
When food is growing in seasonal abundance, not only will there be lots of it available, it’s usually at peak flavour and maximum nutritional value. It’s therefore logical to make the most of this, as it will taste its best, and be better for you. Recognising that there are ‘fat’ and ‘lean’ times of the year where we experience abundance and scarcity, allows us to think of our yields as precious resources. Storing food when it’s seasonally abundant allows us to eat well during the leaner months, and allows us to save money and reduce waste too.
ENERGY BALANCE
When it comes to deciding which preservation method to use, your access to different resources (solar, gas, electricity, human energy, time, space, money) is worth considering.
Ideally, you shouldn’t spend more energy on food than you get out of it, and this applies to growing food as well as preserving it. So before launching into preserving any food, ask yourself some questions, accept the internal feedback, and then apply some self-regulation when it comes to which method you choose to use.
Do you have enough resources to preserve a huge glut of produce? Can you spare the time to prepare kilos of produce and watch over a huge pot as it cooks for hours to become four six jars of chutney? Do you have enough jars to turn masses of fruit into jam? Can you use your existing kitchen equipment and do you have most of the ingredients on hand? Can you afford a higher electricity bill because you’re using freezers or dehydrators more often? Do you physically have the stamina to make passata from boxes and boxes of tomatoes?
If the feedback to these types of questions is ‘no’, it might be a better use of overall energy to make a small batch of preserved food for yourself and then maybe sharing the rest of your produce amongst Community.
To help you make informed decisions about which method of preservation might be best for you and the produce you have an abundance of, here’s a dive into eight methods of preserving. Each one has pros and cons, and a list of what you can use it to preserve as well as any specialist equipment that’s required to do it.
FREEZING
Pros:
Freezing food is simple, quick, adaptable and allows you to effectively pause ripening of produce.
Cons:
It requires a constant use of electricity and is therefore a high-energy way of preserving. You are reliant on electricity supply, which can lead to vulnerability in climate-caused power outages. It’s also very easy to forget what’s in the freezer, leading to potential waste.
Use it for:
Raw, blanched or cooked food; whole fruit & veg, juice, flavour pastes, and all sorts of food scraps that can be transformed into homemade stock.
Special equipment:
A freezer, reliable source of electricity, jars, containers or reuseable plastic bags, ice-cube trays, markers and/or labels.
DEHYDRATING
Pros:
Low-tech, low energy input, long-lasting, versatile, reduces storage space required compared to other methods.
Cons:
Can be time-consuming to prepare produce for drying, requires intermittent monitoring. Nutrients can be degraded if temperatures aren’t set correctly.
Use it for:
All kinds of foods: solid or liquid, cooked or raw. You can dehydrate fully cooked meals to take on camping or hiking trips; blend fruit to make tasty fruit leather; or dry scraps and offcuts (eg tomato skins from making chutney, garlic peel, or celery leaves) to make seasoning powders and blends. Use dehydrated ingredients to make things like meal kits, herbal tea blends, granola, dukkah, and even bath & body products.
Special equipment:
An electricity-powered dehydrating machine and reliable source of electricity; a solar powered dehydrating machine and access to sun; flat baskets or drying racks and access to sun. You can use regular ovens, microwaves and even in-home heaters to dehydrate some things.
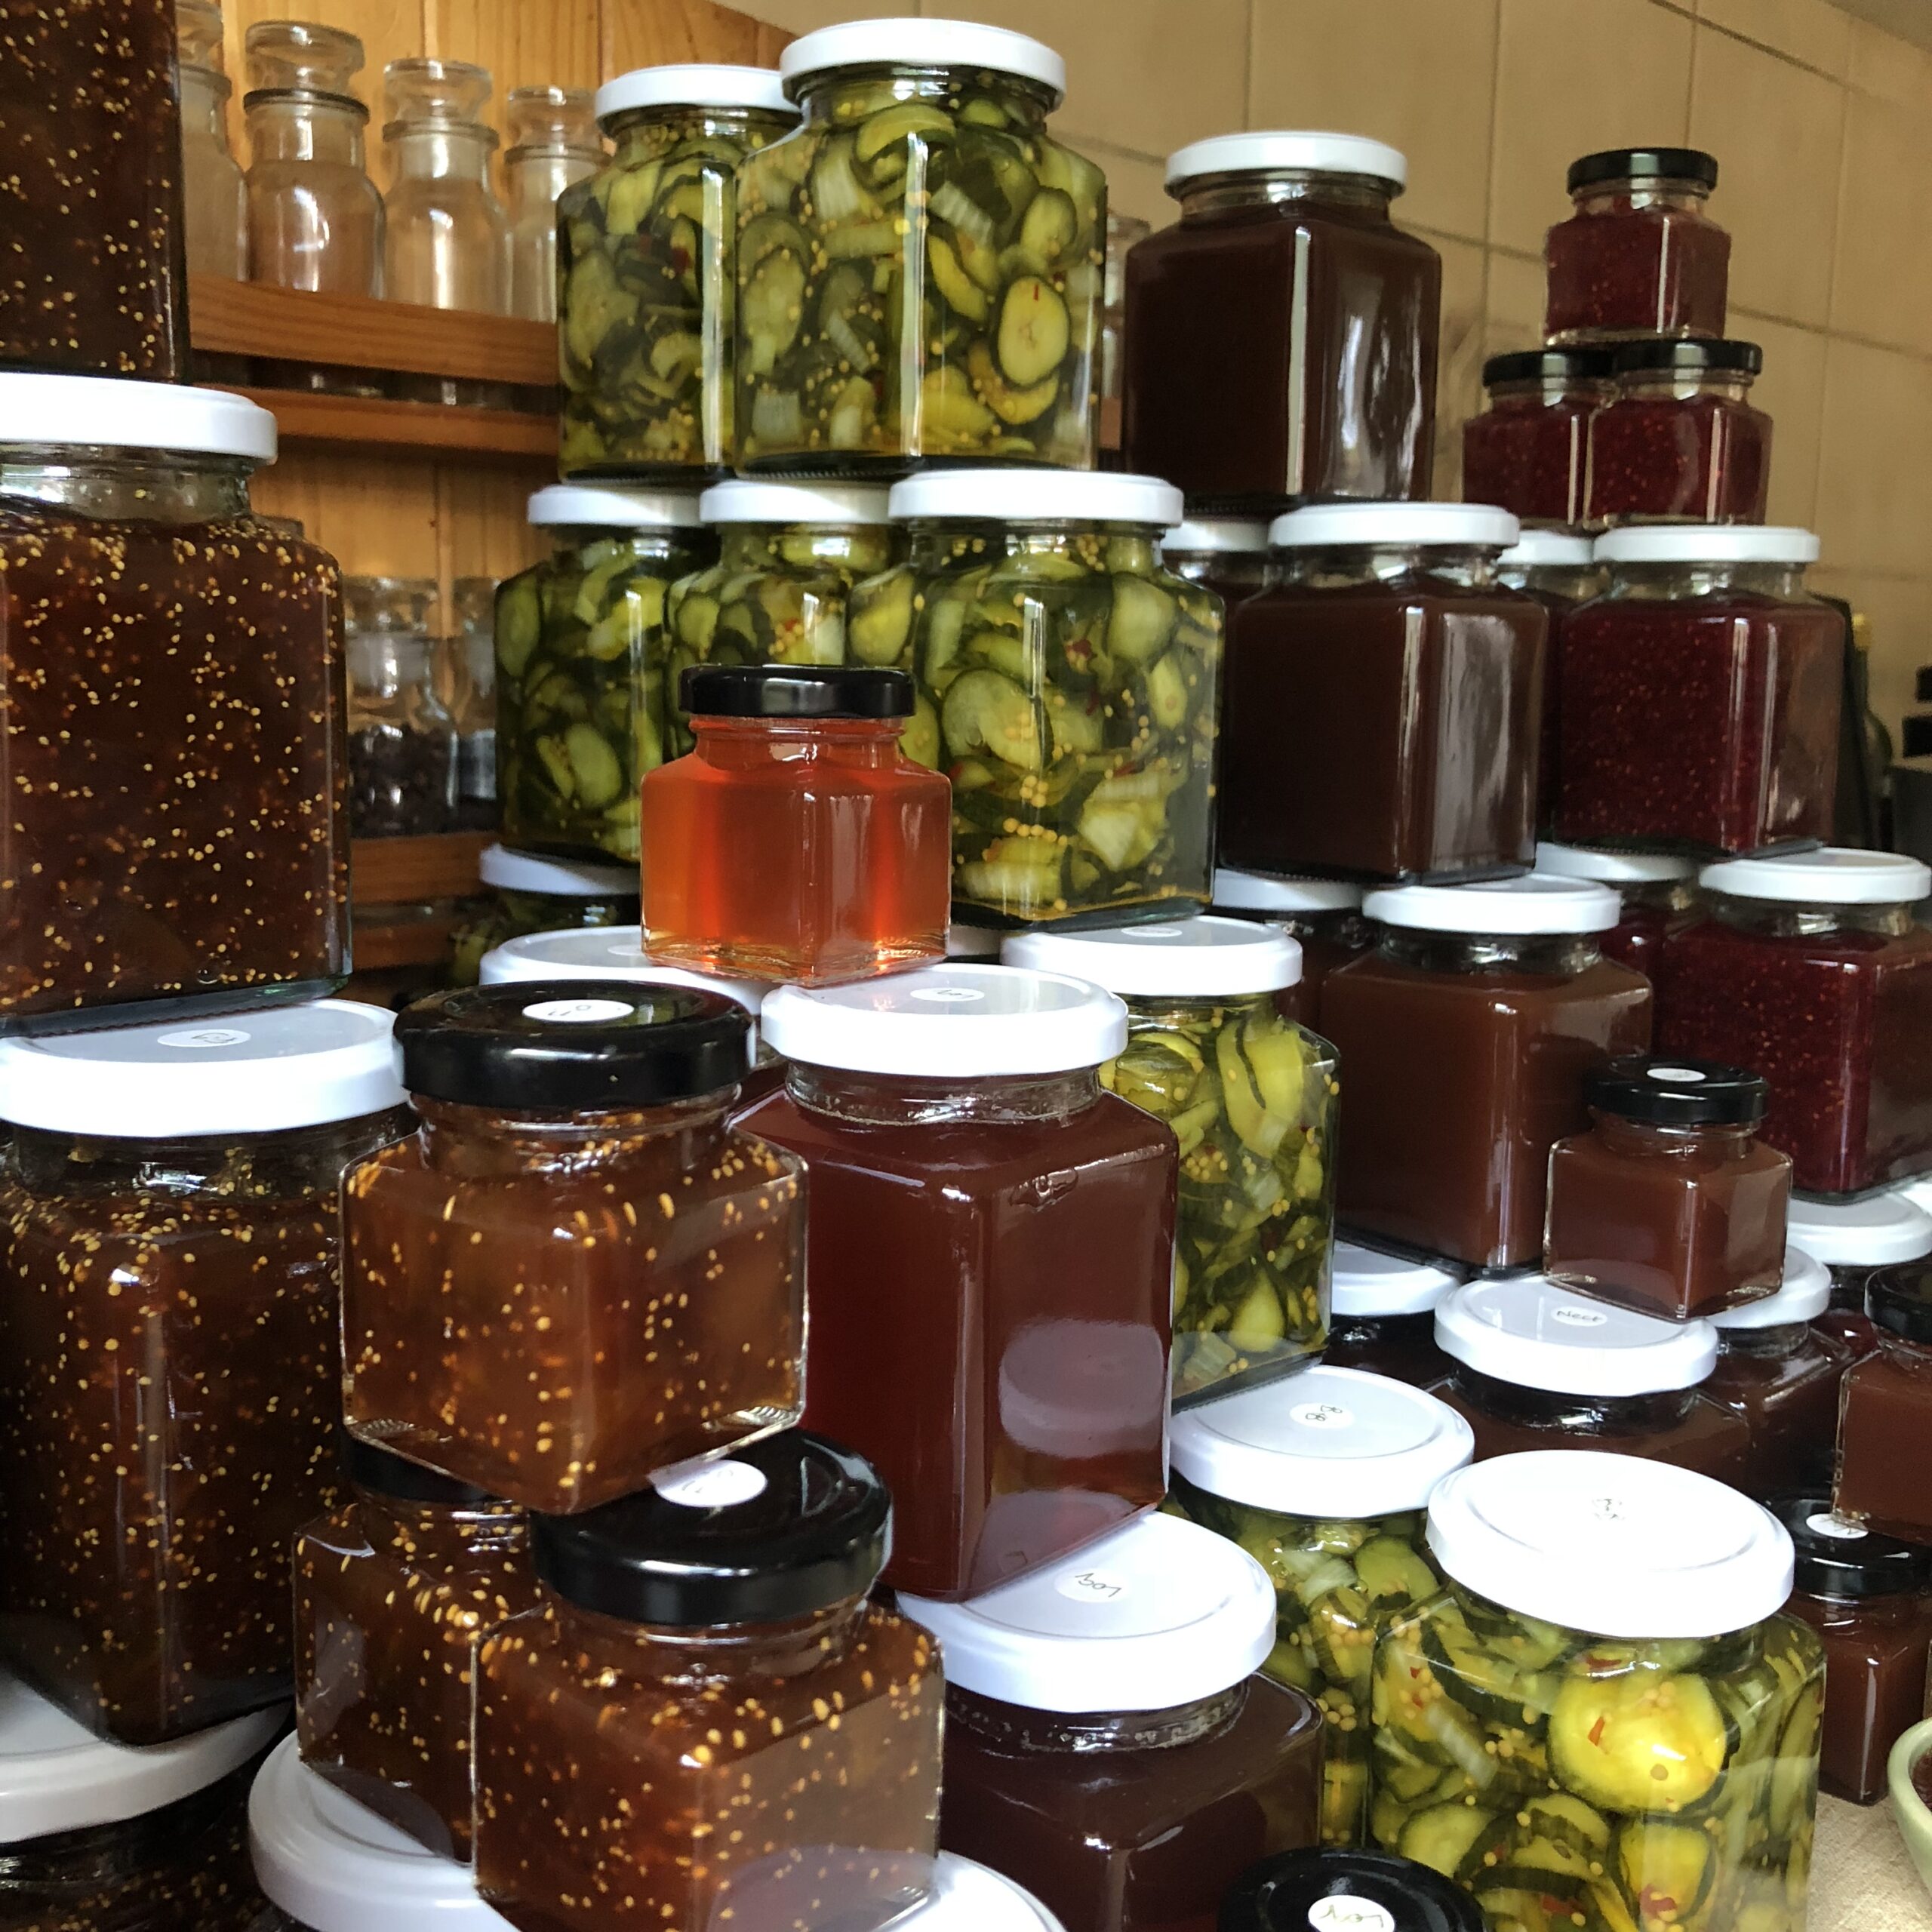
JAMMING, JELLYING & MARMALADE-ING
Pros:
Preserves like jam, jelly and marmalade made from fruit often have very familiar flavours, so are easy to incorporate into diets that normally rely on commercially-produced foods. Recipes are often incredibly versatile and can easily be adapted to use what you have an abundance of. Usually delicious, sweet fruit preserves make excellent gifts, and have very long shelf lives.
Cons:
Generally high in sugar (as it is sugar that preserves the ingredients) which can be problematic for those wanting to reduce refined sugars in their diets. Can be time-consuming as cooking requires frequent monitoring. High temperatures of sugar-based liquids makes it unsuitable for children and possibly folks with physical limitations from a safety point of view. A good understanding of specific food-safety processes is needed (for sterilising jars).
Use it for:
Almost all kinds of fruit, and some vegetables and herbs.
Special equipment:
You need undamaged, good quality food-safe jars that are heat-proof and have well-sealing lids (usually this means glass jars and metal lids with rubberised ‘puff compounds’ on the inside), and a way to sterilise and heat these. A jamming funnel can make filling jars easier, but otherwise, standard kitchen equipment is fine.
CHUTNEY-ING & RELISHING
Pros:
Preserves like chutney and relish made from fruit and vegetables often have very familiar flavours, so are easy to incorporate into diets that normally rely on commercially-produced foods. Recipes are often incredibly versatile and can easily be adapted to use what you have an abundance of. Chutney in particular improves with age, and has a very long shelf-life, so making a big batch means you’ll have gifts to give for a long time.
Cons:
Often high in sugar (as sugar helps preserves the ingredients) and fructose (from onion & garlic) which can be problematic for those wanting to reduce refined sugars in their diets or with food sensitivities. Often time-consuming as preparing ingredients takes a while and cooking requires frequent monitoring. High temperatures makes it unsuitable for children and possibly folks with physical limitations to jar-up from a safety point of view. A good understanding of specific food-safety processes is needed (for sterilising jars). Often requires high energy input due to long low simmering times.
Use it for:
Almost all kinds of fruit and vegetables.
Special equipment:
You need undamaged, good quality food-safe jars that are heat-proof and have well-sealing acid-proof lids (usually this means glass jars and powder-coated metal lids that have rubberised ‘puff compounds’ on the inside), and a way to sterilise and heat these. A jamming funnel can make filling jars easier, but otherwise, standard kitchen equipment is fine.
PICKLING
Pros:
Pickles made from vegetables often have very familiar flavours, so are easy to incorporate into diets that normally rely on commercially-produced foods. There are only a handful of steps to most recipes, making them fairly easy to follow. Recipes/techniques are often versatile and can easily be adapted to use what you have an abundance of. Well-made pickled veg have relatively long shelf lives.
Cons:
Requires a solid working knowledge of food safety procedures, and an understanding of the acid-content in homegrown produce. If low-acid fruits or vegetables are improperly pickled, there is a risk of harmful bacteria growing inside jars, leading to serious poisoning and potential death.
Use it for:
Fruit and vegetables, or less commonly, fish, eggs and meats.
Special equipment:
You need undamaged, good quality food-safe jars that are heat-proof and have well-sealing acid-proof lids (usually this means glass jars and powder-coated metal lids that have rubberised ‘puff compounds’ on the inside), and a way to sterilise and heat these. pH strips are invaluable for testing acidity (and thereby safety) of pickled foods before sealing. A jamming funnel can make filling jars easier, but otherwise, standard kitchen equipment is fine.
CANNING & HOT-WATER BATH BOTTLING
(note: this refers to NON-pressure canned preserves)
Pros:
Resembling tinned fruits & veggies, these types of preserves are familiar flavours for most people, and can easily be used in most recipes that call for shop-bought preserved produce. You can control the amount of sugar and salt used. It’s a quicker, less labour-intensive way to make shelf-stable preserves than jamming or chutneying, so is great for managing a huge crop.
Cons:
Requires a solid working knowledge of food safety procedures, and an understanding of the acid-content in homegrown produce. If low-acid fruits or vegetables are improperly bottled, there is a risk of harmful bacteria growing inside jars, leading to serious poisoning and potential death. If using Fowlers Vacola bottling units, equipment can take up lots of space.
Use it for:
Fruit pieces or whole fruit, vegetables and sauces, drinks (like apple cider or orange juice).
Special equipment:
This will depend on whether you’re using a specialised system (like Fowlers Vacola or Ball Canning): If so, you’ll use specialised jars with rubber seals, special tongs for lifting jars, and need access to electricity. If DIYing, you need undamaged, good quality food-safe jars that are heat-proof and have well-sealing acid-proof lids (usually this means glass jars and powder-coated metal lids that have rubberised ‘puff compounds’ on the inside), a very large pot & heat source, teatowels, and special tongs for lifting jars. You will also need utensils that can be properly sterilised (usually stainless steel).
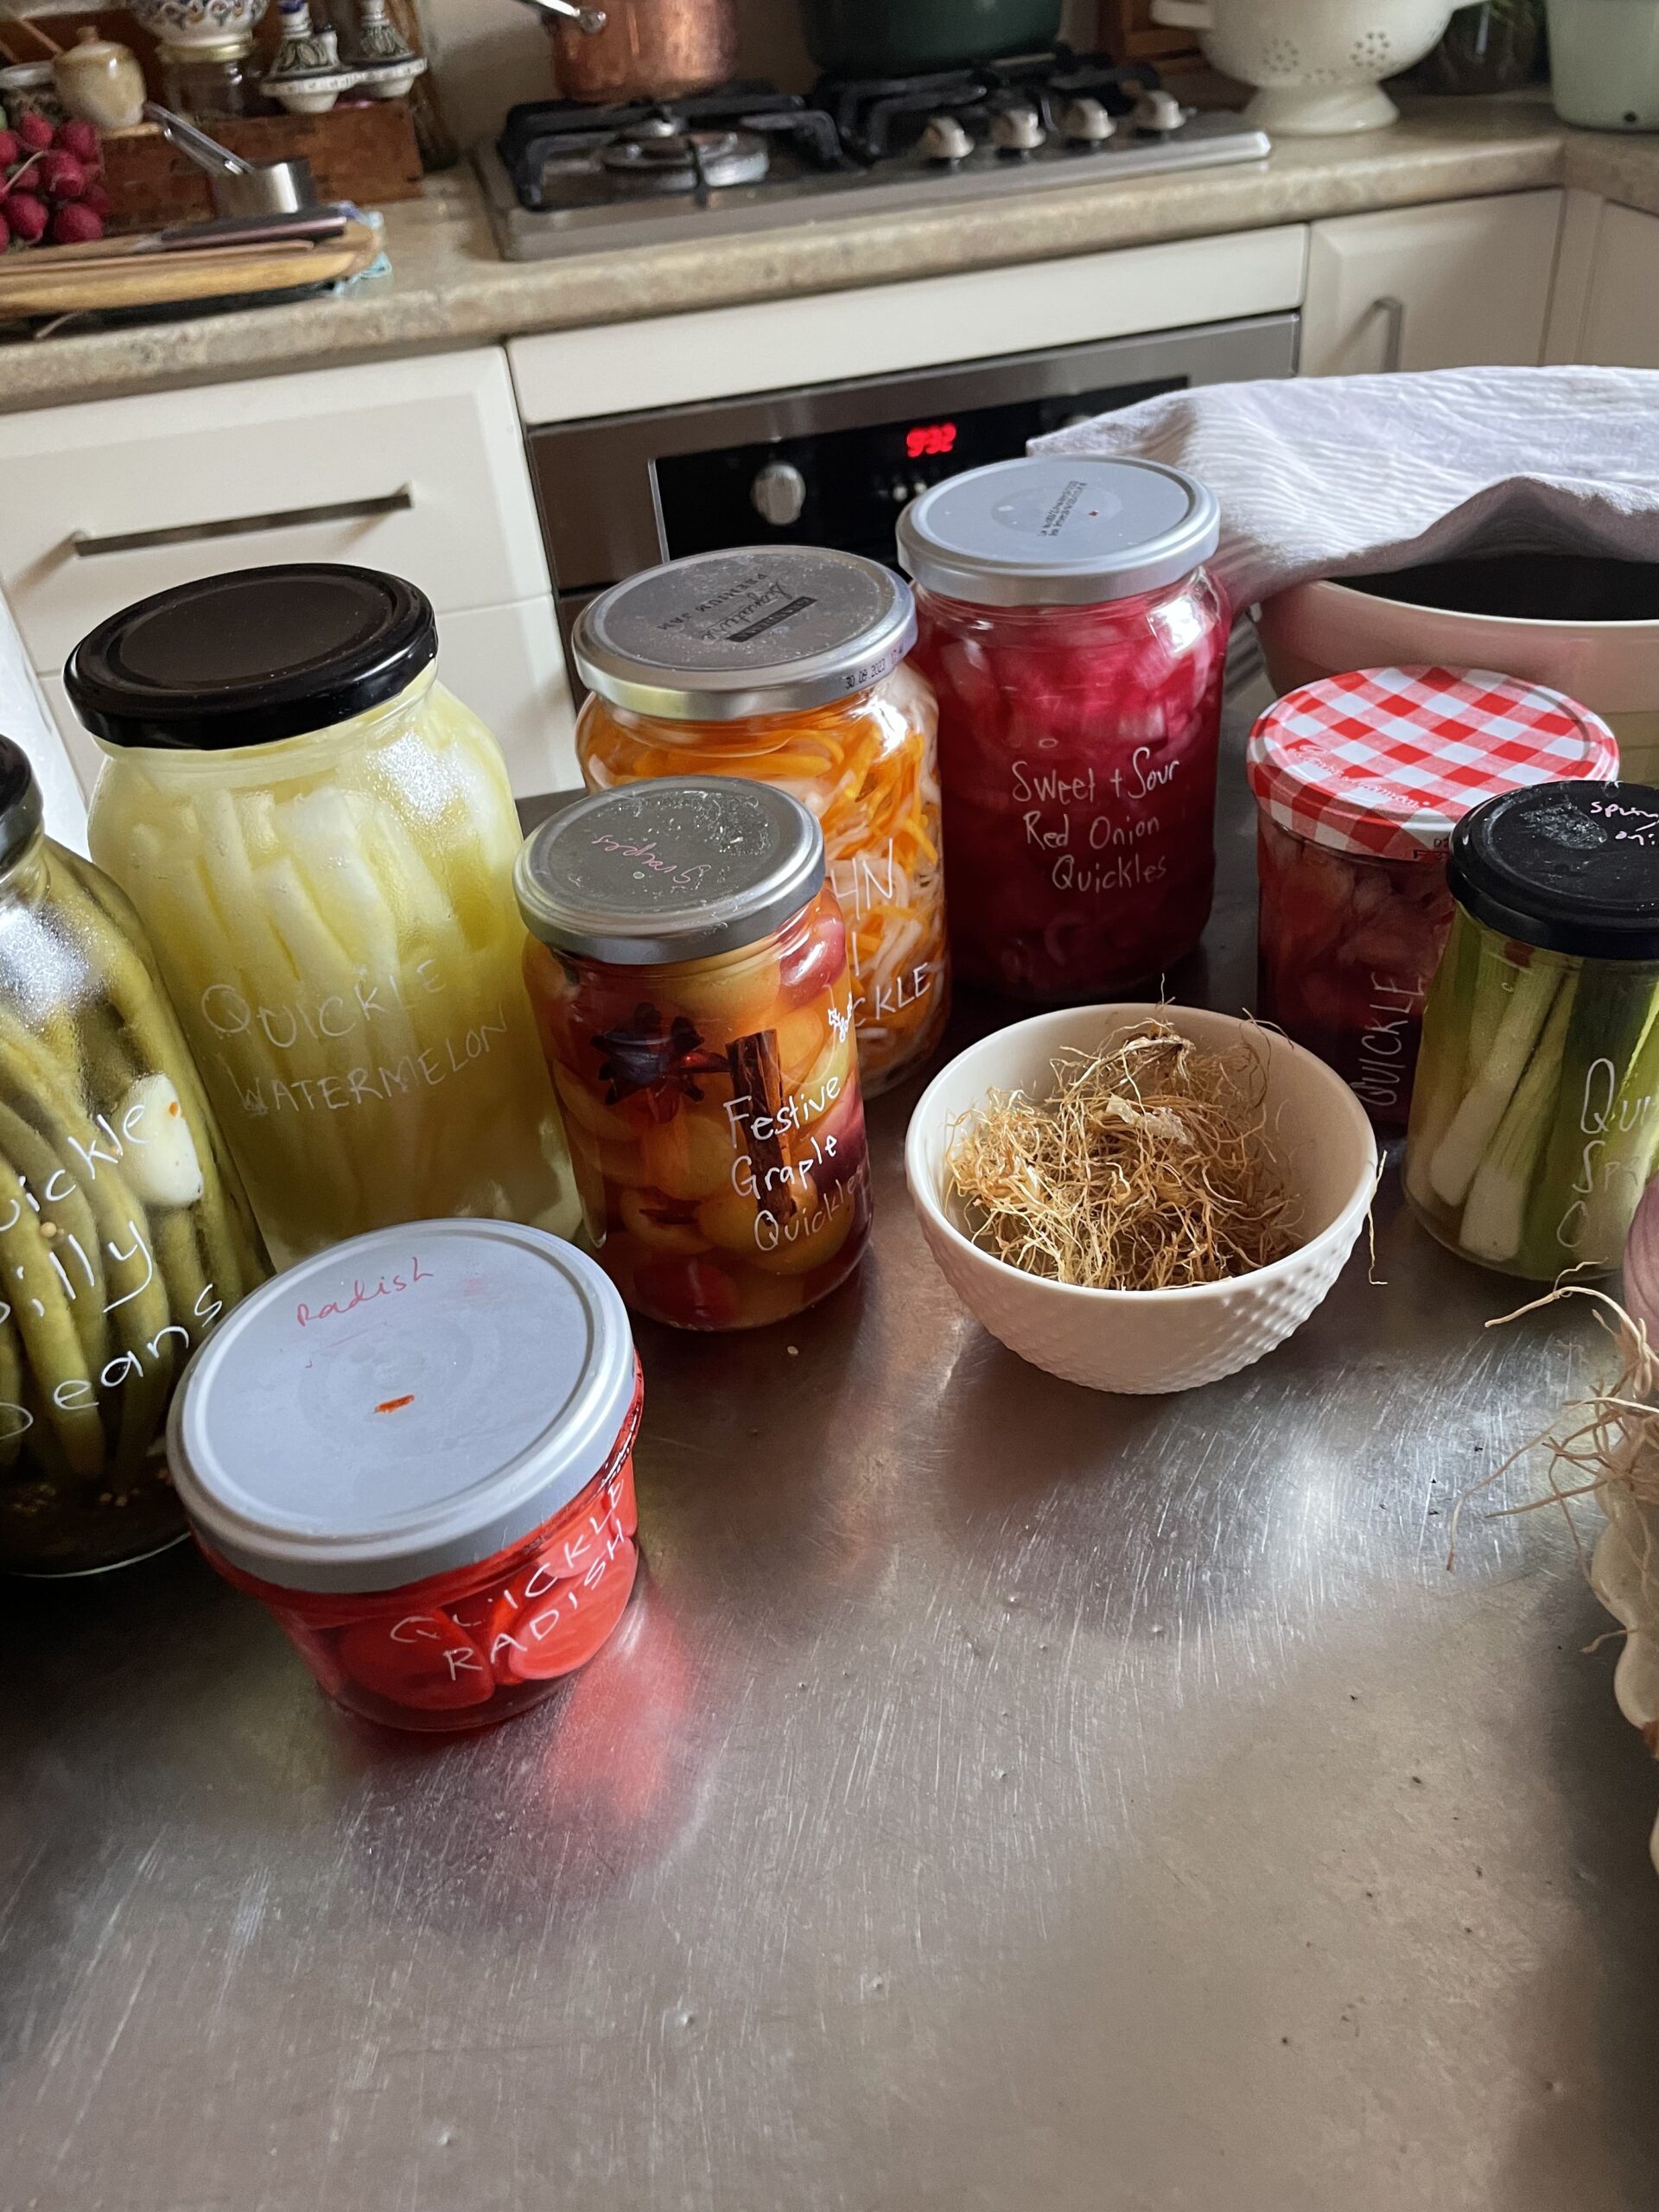
QUICKLING
Pros:
Compared to jamming, chutneying and pickling, quickling (which comes from the name ‘quick pickling’) is incredibly easy, and very quick to do. It requires a low energy input to create, and can then be simply kept in the fridge for a month or so. It is highly adaptable, and can be made with very simple ingredients.
Cons:
Shorter shelf-life than traditional pickles or other types of preserves. Reliant on refrigeration for longevity.
Use it for:
Fruit and vegetables, or less commonly, fish and eggs.
Special equipment:
You can use any type of food-safe jar or container to store quickles, and regular kitchen equipment is fine to use to produce them. You’ll also need a refrigerator with a reliable source of power.
FERMENTING
Pros:
Fermenting is one of the oldest, simplest and safest methods of preserving fresh produce. It is low-tech, requires a low energy input, incredibly versatile, cheap, and produces foods that are long-lasting and actually increase your nutrient uptake when you eat them.
Cons:
As vessels need to be left at room temperature for varying amounts of time, you may find bench space becoming a premium resource as you get more and more into fermenting. Depending on what you are fermenting, some… *ahem* … aromatic fragrances may be emitted by your fermenting vessels, which some people aren’t too keen on.
Use it for:
Fruits, vegetables, herbs, edible flowers, grain, legumes, dairy, and even some seafood. You can make things like pickles, kimchi, sauerkraut, yoghurt, fruit soda, beer, wine, soy sauce, miso… the list goes on.
Special equipment:
This will depend on the type of fermenting you’re doing. You can buy specialised fermenting equipment, but much of it can be done using regular kitchen equipment.
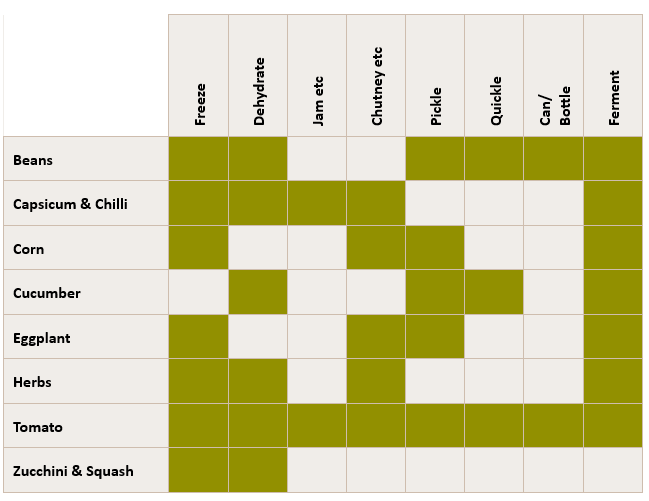
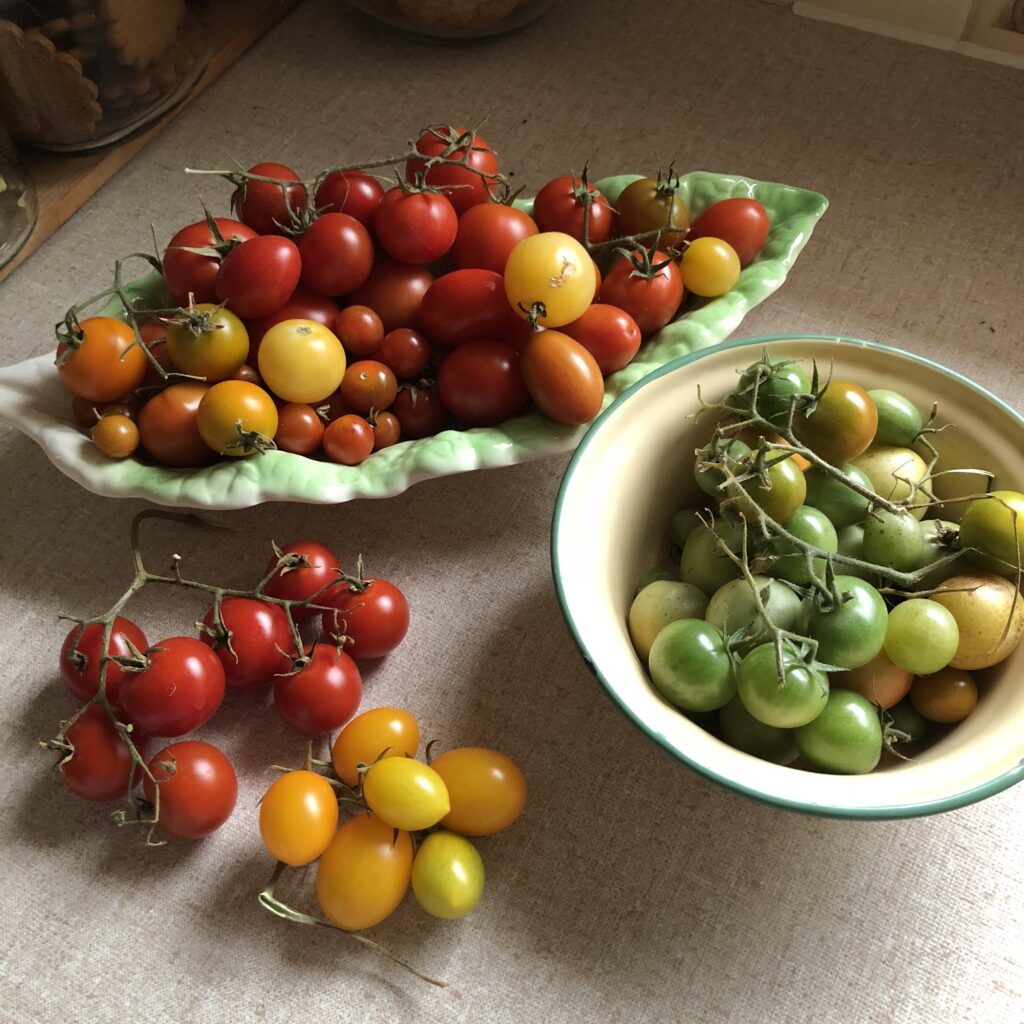
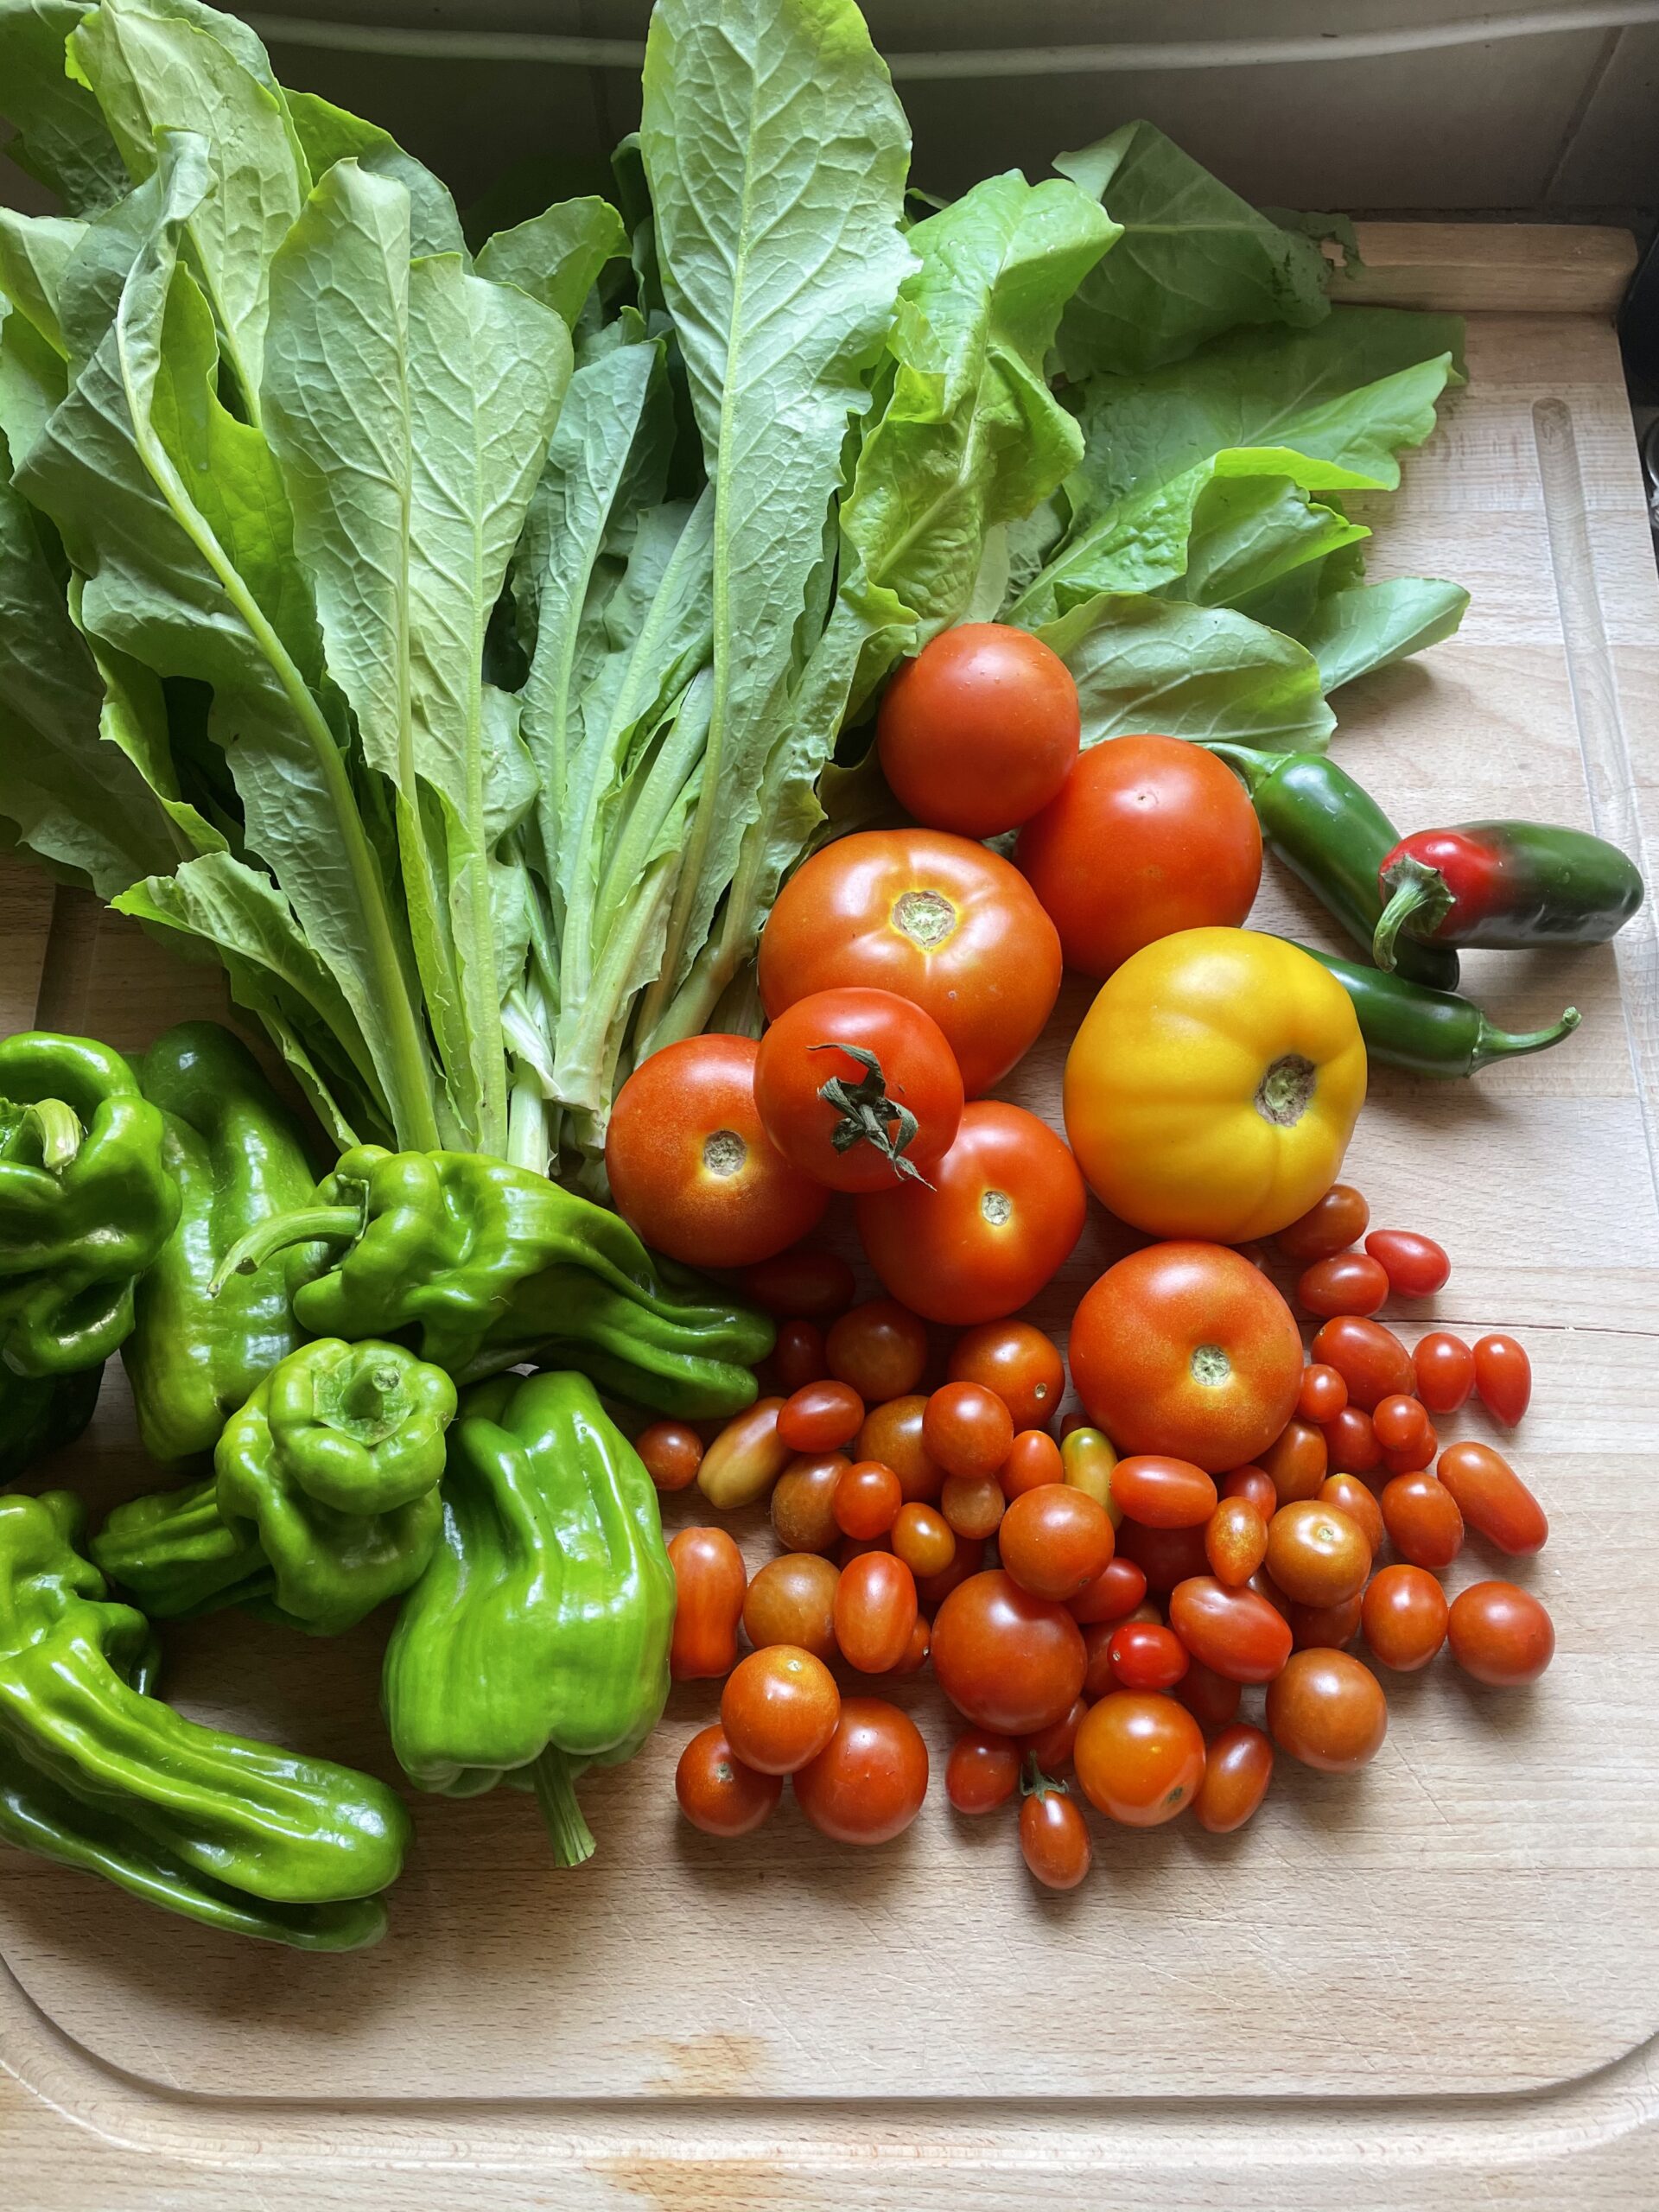
SUMMER CROPS – VEGETABLES
Typical summer vegetable crops include things like tomato, cucumber, beans, zucchini and squash, eggplant, herbs, corn, capsicum and chilli. You can make many things with all of these: the table below shows some of the most commonly suitable methods for these types of veggies.
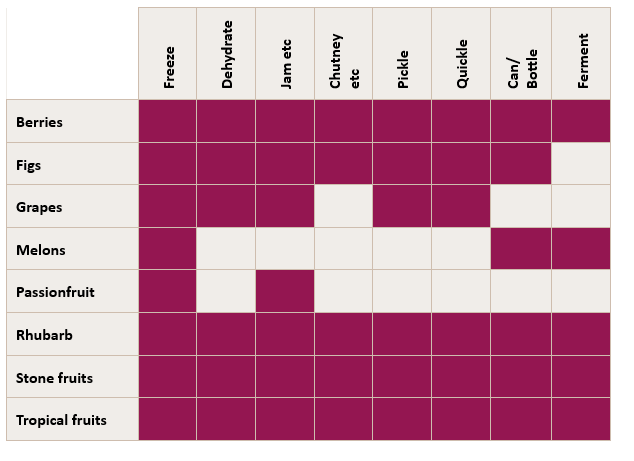
SUMMER CROPS – FRUITS
Common summer fruits include stone fruits (peach, nectarine, cherry, plum etc), berries, melon, passionfruit, grape, fig, tropical fruits, and (even though it’s not technically a fruit, it’s used most often like a fruit) rhubarb.
The table below shows some of the most commonly suitable methods for preserving these types of fruits.
Recipes
FERMENTED SUMMER SALSA
This quick ferment uses different summer vegetables to produce a zesty, tangy salsa that’s perfect for family Mexican dinners, or simply serving with corn chips as a snack when entertaining.
The best part about it is that it allows you to use whatever summer veggies you have an abundance of!
Possible ingredients include:
Tomatoes, chilli, capsicum, cucumber, zucchini, squash, corn, onion, garlic, spring onion, avocado, lime, lemon, coriander, parsley, basil, peach, mango, pineapple, apple.
METHOD:
- Weigh your produce. Calculate 2% of this weight: measure that amount of salt. Set salt aside.
- Dice large ingredients; mince/grate any chilli, garlic, herbs. Add to a bowl.
- Combine all ingredients with salt and gently mix well.
- Transfer everything to a fermenting vessel. Add a weight to keep bits submerged. Leave covered at room temperature for 2-4 days.
- Once soured to your taste, seal jar & keep refrigerated.
For more details on this recipe, head here.
QUICKLED VEGGIES
This rapid method of producing sweet & tangy pickles is brilliant for dealing with a glut of veggies. It is particularly suited to crunchy veggies and fruits.
You can quickle just about anything, and quickled foods will last for around a month in the fridge.
INGREDIENTS:
– Firm/crisp veggies: carrot, daikon, beans, spring onions, snow peas, chillies etc
– Vinegar (apple cider vinegar, rice wine vinegar, white wine vinegar, or white vinegar)
– salt
sugar
– (optional) flavourings like garlic, dill, mustard seeds, peppercorns, ginger
METHOD:
- 1. Sterilise glass jars and lids. Jars in oven at 100ºC for 10 mins; lids in boiling water for 5 mins.
- Wash and trim your produce. Cut to fit your jar
- Firmly pack produce into sterilised jar. Add spices to taste.
- Make brine by bringing equal quantities of vinegar & water to the boil. Sweeten with sugar, add salt* & simmer for 5 minutes.
- 5. Pour hot brine over produce. Fill jar. Seal while hot. Store in fridge for <1 month.
*The amount of salt will depend on the quantity of brine you make. Aim for a ratio of 1 cup vinegar, 1 cup water and 1 teaspoon of salt. If using sugar, around 1 tablespoon is usually suitable for this amount.
SUMMARY
There’s a LOT in what’s covered here, but rather than feel overwhelmed, instead think to yourself “Gosh! There are so many ways I can preserve my harvest – there’s so much to choose from!”
Remember that people have been preserving food for centuries without fancy equipment and very little training, so there’s bound to be lots of things you can try.
So go forth, slice and dice, and preserve all that seasonal abundance!